Created by @love.my.hooks
Skill level – Beginner (however this pattern does not contain stitch tutorials)
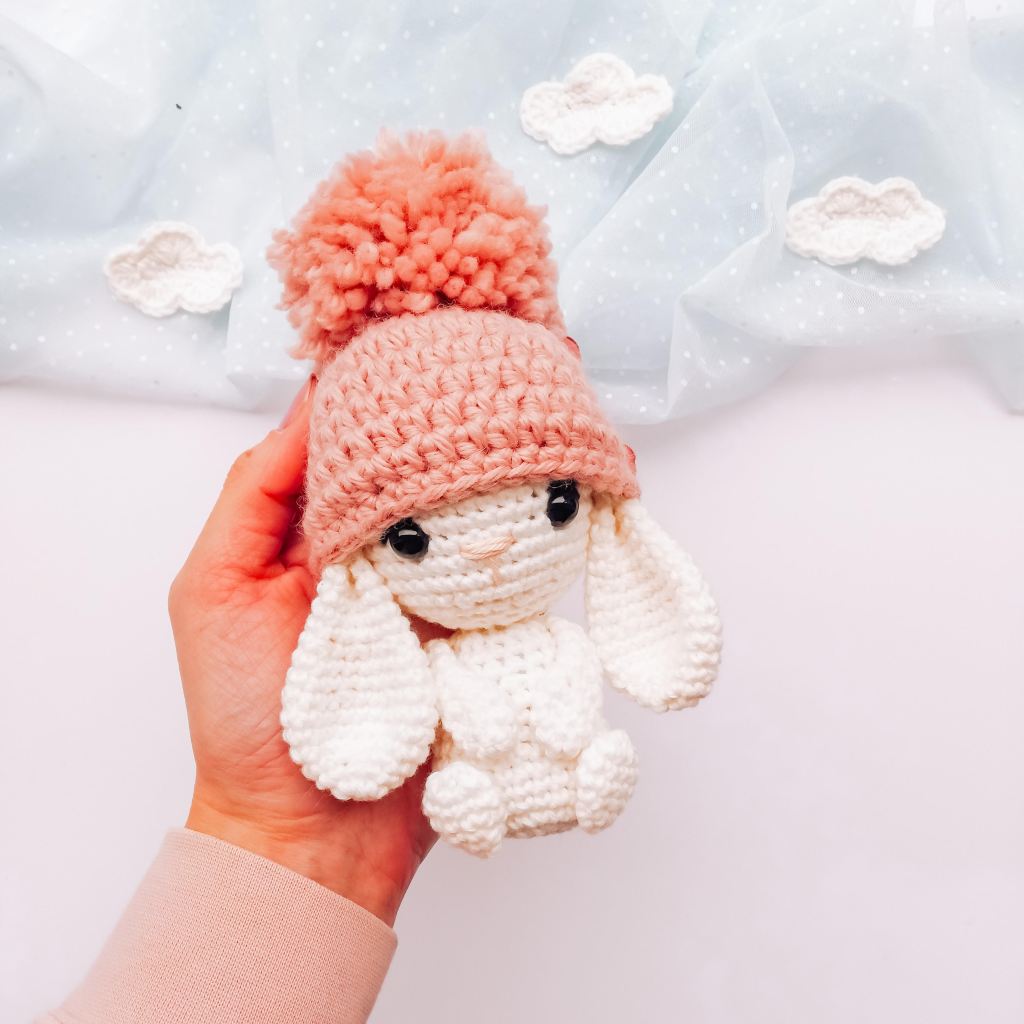
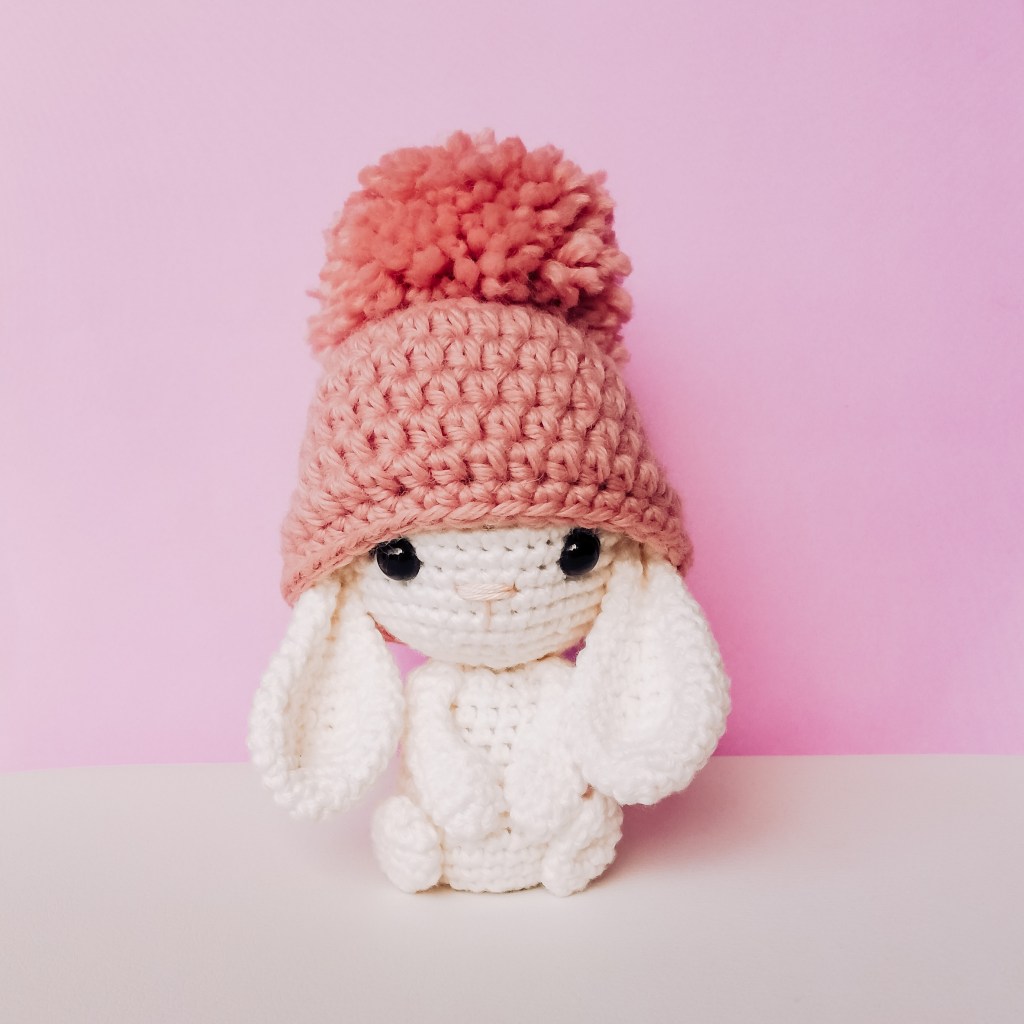
I’m so glad that I get to share sweet Ella with you. Crochet bunnies have always been a firm favourite of mine, and now I’ve finally made my own to share with you. So fun! This little cutie looks great on a shelf and is part of my little Pom Pom Collection. Have you seen Ella’s friend Lucas the Giraffe? The sweetest pair ever. Ella makes my heart so happy and I hope she makes yours happy too. If Ella is for a young child, please consider embroidering her eyes. I can’t wait to see your Ella come to life!

Follow Lisa!
Lisa has also created an ad-free PDF available for purchase.
Materials
- Crochet hooks – 2.75mm (for all parts of Ella) and 4mm (for her hat)
- Embroidery needle
- Stitch marker/s
- Safety eyes – 9mm (if using)
- Fibre fill/stuffing
- Scissors
- 8 ply (dk) yarn in white or cream
- 12 ply (chunky) yarn in pink for the hat and pom pom
- Embroidery thread or 4 ply yarn in black and pale pink
- Pins
Abbreviations – US Terms
MR – Magic ring
Slst – Slip stitch
Ch – Chain
Sc – Single crochet
Hdc – Half double crochet
Inc – Increase
Dec – Decrease
Hdcinc – Half double crochet increase
Notes
I can’t wait to see the super cute bunny you’ve created. Please credit me as the pattern designer and tag me (@love.my.hooks) in your posts on Instagram, or use the hashtags #lovemyhooks and #ellathebunny, so I can see your amazing work. If you have any questions, please get in touch via my Instagram page, I’d be happy to help.
You’re welcome to sell any bunnies that you make from this pattern, in limited numbers, making sure to follow local toy safety regulations.
Once again, thank you, you’re amazing. It’s brought me so much happiness to share my pattern with you.
Pattern
All rounds of Ella’s head, body, arms, legs, tail and ears are worked in the round.
Let’s start with Ella’s head – stuff as you go
With white –
1. MR, 6sc [6]
2. Inc x6 [12]
3. (sc, inc) x6 [18]
4. (sc, inc, sc) x6 [24]
5. (3sc, inc) x6 [30]
6. (2sc, inc, 2sc) x6 [36]
7. (5sc, inc) x6 [42]
8- 17. 42sc [42] (10 rounds)
18. (5sc, dec) x6 [36]
19. (2sc, dec, 2sc) x6 [30]
20. (3sc, dec) x6 [24]
21. (sc, dec, sc) x6 [18]
Tip: Now is a good time to add the safety eyes if you’re using them. I added my eyes between rounds 14 and 15 about 7 visible stitches apart.
22. (sc, dec) x 6 [12] fasten off.
Ella definitely needs a body – stuff as you go
With white –
1. MR, 6sc [6]
2. Inc x6 [12]
3. (sc, inc) x6 [18]
4. (sc, inc, sc) x6 [24]
5. (3sc, inc) x6 [30]
6-9. 30sc [30] (4 rounds)
10. (3sc, dec) x6 [24]
11-12. 24sc [24] (2 rounds)
13. (2sc, dec) x6 [18]
14-15. 18sc [18] (2 rounds)
16. (sc, dec) x6 [12] fasten off leaving a tail for sewing.
Tip: Make sure you don’t overstuff Ella’s body. I like to slightly under stuff the base so that it can be manipulated flat, so Ella can sit. Her tail provides counterbalance so she doesn’t topple over.
Yay! Let’s make Ella some tiny feet – make two
Tip: Feet are not stuffed
With white –
1. MR, 4sc [4]
2. (sc, inc) x2 [6]
3. (2sc, inc) x2 [8]
4. (3sc, inc) x2 [10]
5. 10sc [10]
6. (3sc, dec) x2 [8] fasten off leaving a tail for sewing.
Use the yarn tail to sew the hole closed in the end of the foot. Weave the yarn end back out one side for sewing to the body.
Arms are next! – make two
Tip: Arms are not stuffed
With white –
1. MR, 6sc [6]
2. (2sc, inc) x2 [8]
3-4. 8sc [8] (2 rounds)
5. (2sc, dec) [6]
6-9. 6sc [6] (4 rounds)
10. Flatten the top of the arm and work 3sc through both layers along the top [3] fasten off leaving a tail for sewing.
Ella definitely needs ears – make two
Tip: Ears are not stuffed
With white –
1. MR, 6sc [6]
2. Inc x6 [12]
3. 12sc [12]
4. (sc, inc) x6 [18]
5. (2sc, inc) x6 [24]
6-7. 24sc [24] (2 rounds)
8. (2sc, dec) x6 [18]
9-10. 18sc [18] (2 rounds)
11. (sc, dec) x6 [12]
12-15. 12sc [12] (4 rounds)
16. Fold your work flat and work 6sc through both layers along the top. [6]
17. Fold in half again and work 3 sc back across the top [3] then fasten off leaving a tail for sewing.
A tail! We definitely need to make Ella a tail
With white –
1. MR, 6sc [6]
2. Inc x6 [12]
3. (sc, inc) x6 [18]
4. 18sc [18]
5. (sc, dec) x6 [12]
6. (2sc, dec) x3 [9]
Gently stuff the tail before sewing onto the body.
Before we move onto sewing Ella together, let’s embroider her facial details.


- Bring black thread or yarn up just above the first eye.
- Bring thread down to the right of her eye on an angle and then back up to the first hole at the top.
- Now embroider a straight line out to the side.
- Repeat for the second eye. Fasten off black.
- Now with pink, start her nose. Bring up the thread below her eye.
- Embroider a straight line centrally between her eyes.
- Repeat the straight line four times.
- Now embroider a vertical line centrally, approximately two rounds long. Fasten off pink.
- Ta-da! Your sweet Ella has a face!
Now the icing on the cake, Ella’s hat
Worked in joined rounds, end each round with a slst into the top of the first hdc then ch1 (not included in stitch count)
With pink –
1. MR, 8hdc
2. hdcinc x8 [16]
3. (hdc, hdcinc) x8 [24]
4. (2hdc, hdcinc) x8 [32]
5-9. 32hdc [32] (5 rounds)
10. 32sc [32] fasten off and weave in your ends.
It’s pom pom time
In all honesty pom poms are not my strong point, in fact, I know you’ll do a better job than me…but here’s how I make mine….

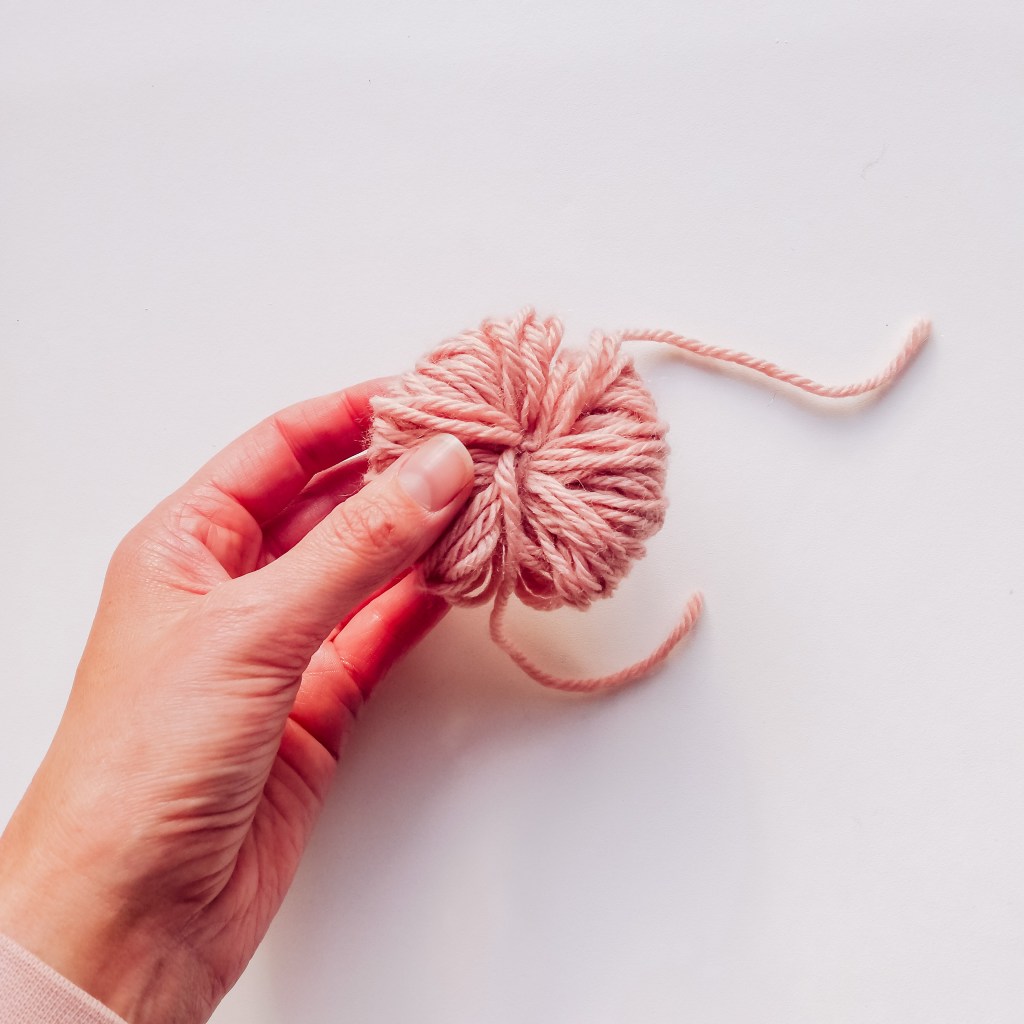
- Start by cutting a short piece of yarn and thread it between your middle two fingers.
- Next start wrapping your pink yarn around and around your four fingers.
- I wrapped my yarn around 60 times.
- Now use your short piece of yarn to knot around your wrapped yarn. Remove from your fingers and knot tightly.
- Turn your pom pom on its side and cut the loops with sharp scissors.
- Shape your pom pom with sharp scissors. You need to keep your beginning knot strand long for sewing.
- Once you’re happy with the shape and size of your pom pom attach it to the top of Ella’s hat. I attached mine slightly forward of centre.
Let’s sew Ella together
- Start by pinning, then sewing on Ella’s ears. Yes, she looks a little funny without her hat! I located mine one round above the eyes and two stitches away from the eyelashes.
- Before fastening off the ears, make your sure ear placement looks good with her hat.
- Now, sew your head onto your body.
- Ella’s feet are next, sew these over rounds 5-8 with 5 visible stitches in between.
- Sew her arms on next, over rounds 14-16. I also sewed my arms to the front of her body.
- I slightly angled my arms. You can too if you’d like.
- Sew Ella’s tail onto her back, centrally over rounds 5-7.


Hooray! Your Bunny is all done!