
Created by graciebobbins
Level – Advanced beginner
Hi, I’m Gracie – the maker and pattern designer behind graciebobbins and I’m on a one-woman mission to bring joy into people’s lives one amigurumi design at a time!
I first started to crochet back when I finished university (many moons ago!) but it wasn’t until 2017 that I stumbled across amigurumi in a magazine and that was it for me! In 2020 I finally decided to take the leap and start designing my own characters and I haven’t looked back since.

Follow Gracie!
Gracie has also created an ad-free PDF available for purchase.
Introduction
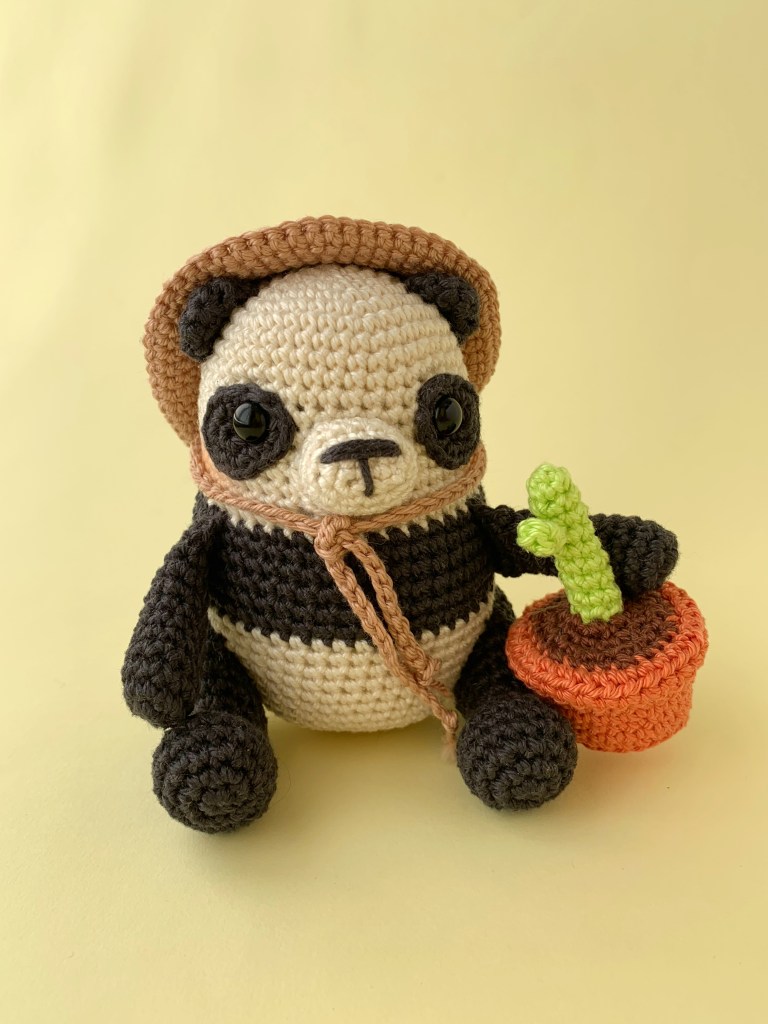
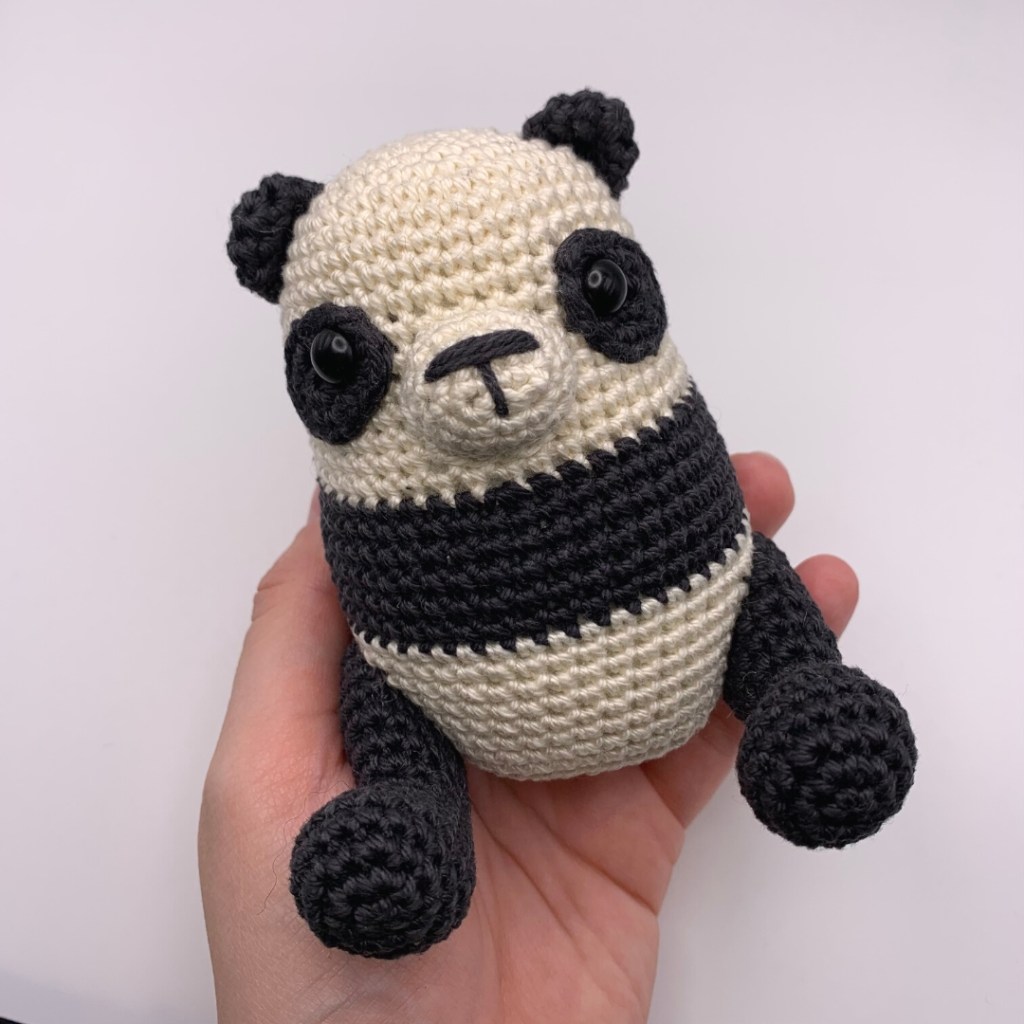
Meet Pip the Panda!
Pip is a baby panda who loves nothing more than getting his paws dirty in the garden! With a green thumb (in training), Pip loves spending his days digging in the soil, planting seeds and chasing butterflies around the garden. Pip is particularly fond of growing bamboo, which also happens to be his favourite snack – and you’ll often find him munching on bamboo whilst tending to his garden.

Details
This pattern is written in English US terminology and is suitable for advanced beginners.
Finished Size
When made with the same yarn weight and hook size, Pip will measure approximately 4 inches (10cm).
Note – Gauge is not important for this pattern.
Yarn
Body – Cream 4ply Yarn – Yarn and Colors Must-Have – Cream (40g)
Dark Grey 4ply Yarn – Yarn and Colors Must-Have – Anthracite (40g)
Hat – Light Brown 4ply Yarn – Yarn and Colors Must-Have – Oak (18g)
Plant Pot – Rust Orange 4ply Yarn – Yarn and Colors Must-Have – Rust (<10g)
Dark Brown 4ply Yarn – Yarn and Colors Must-Have – Brunet (<5g)
Bamboo Shoot – Green 4ply Yarn – Yarn and Colors Must-Have – Grass(<10g)
Note – All yarn quantities are approximate, you may need more/less yarn depending on your tension, hook size and yarn type.
Tools
- 2.5mm crochet hook
- Toy stuffing
- 8mm safety eyes
- Black/Dark Grey embroidery thread
- Tapestry needle
- Pins for sewing
- Stitch markers
- Scissors
Copyright
This is a pattern by © 2023 Grace Robson (graciebobbins). Please respect copyright. This pattern is for personal use only. You may not alter, copy, translate, sell or distribute this pattern in any way (online or offline). You may sell finished items made from this pattern in limited numbers. When selling items made from this pattern – please credit the designer (graciebobbins).
Skills You’ll Need
- Working in the round
- Magic circle/magic ring
- Single crochet
- Half double crochet
- Single crochet increase
- Invisible decrease – crochet two stitches together through the front loops only
- Slip stitch
- Working through front loops and back loops
- Crocheting pieces together
- Basic sewing (whipstitch)
Abbreviations
sc – single crochet
hdc – half double crochet
ch – chain
rnd/rnds – round or rounds
inc – single crochet increase – 2 single crochets in the same stitch
dec – single crochet decrease – crochet two stitches together
blo – back loops only
flo – front loops only
slst – slip stitch
* – section to be repeated the specified amount of times
( ) – total number of stitches
Notes
This pattern is worked in a continuous round unless otherwise stated. At the end of each round, continue to work in a spiral. There is no need to slip stitch to close each round.
Chains in this pattern are not counted as a stitch unless otherwise stated.
If you are using a different yarn weight than specified, it’s always recommended to use a smaller hook than specified on the yarn label.
If you have any questions, please don’t hesitate to get in touch: graciebobbins@hotmail.com
PATTERN
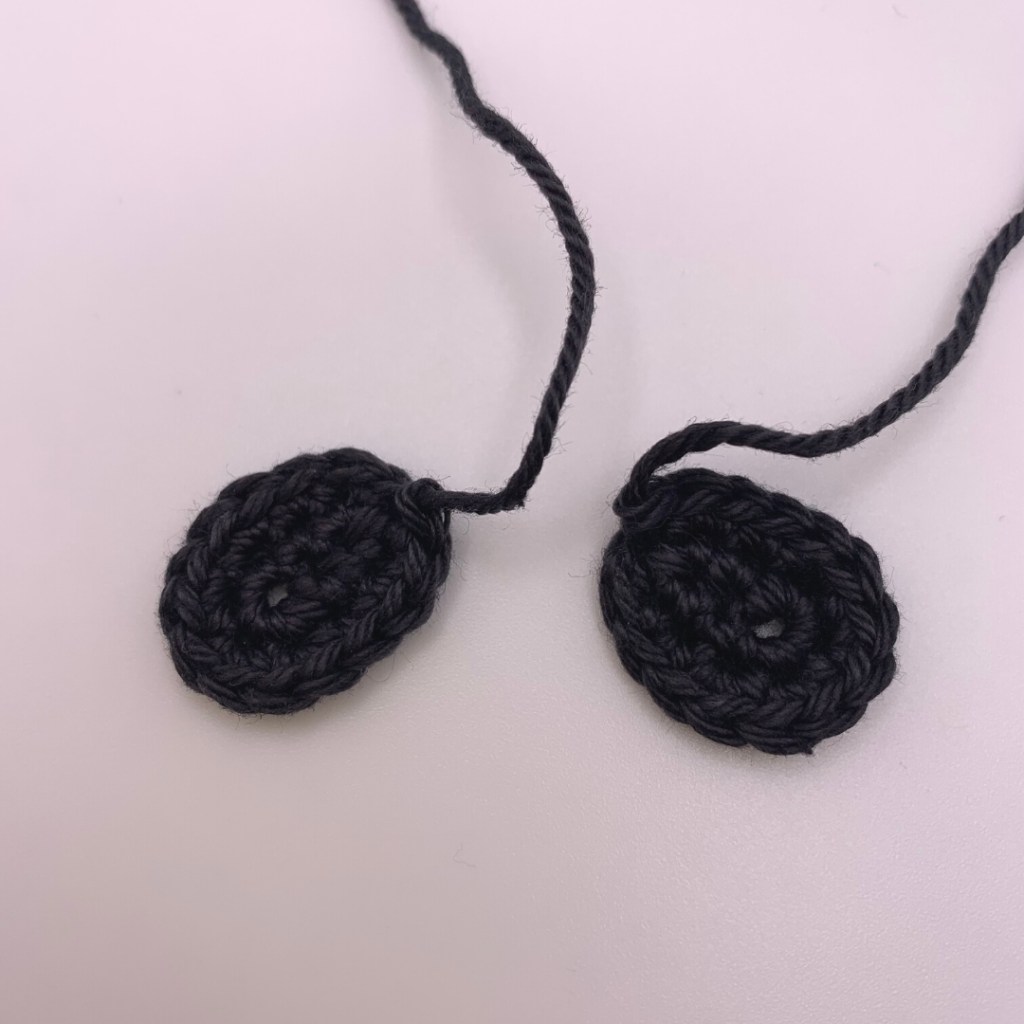
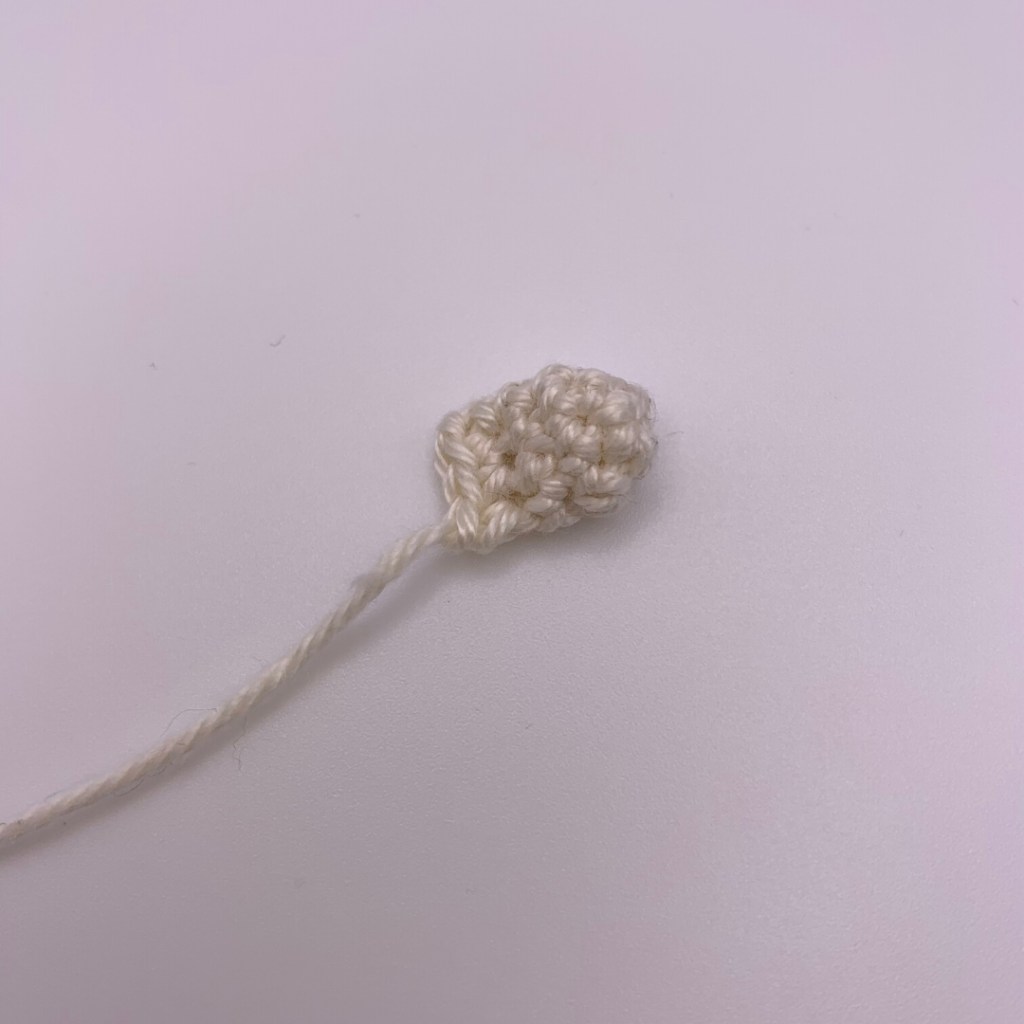
Eye Patches
With dark grey yarn.
Make two.
1. Ch4, starting in the 2nd chain from the hook, 2sc, 4sc in the last chain, working down the opposite side of the chain, 2sc (8)
2. Inc, 1sc, *inc* x 4, 1sc, inc (14)

Slst into the first stitch, tie off and leave a long tail for sewing (Picture 2).
Body
With cream yarn.
The head and body are worked in one continuous piece.
1. 6sc in magic ring (6)
2. *inc* x 6 (12)
3. *1sc, inc* x 6 (18)
4. *2sc, inc* x 6 (24)
5. *3sc, inc* x 6 (30)
6. *4sc, inc* x 6 (36)
7. *5sc, inc* x 6 (42)
8 – 18. Sc in every stitch for 11 rnds (42)
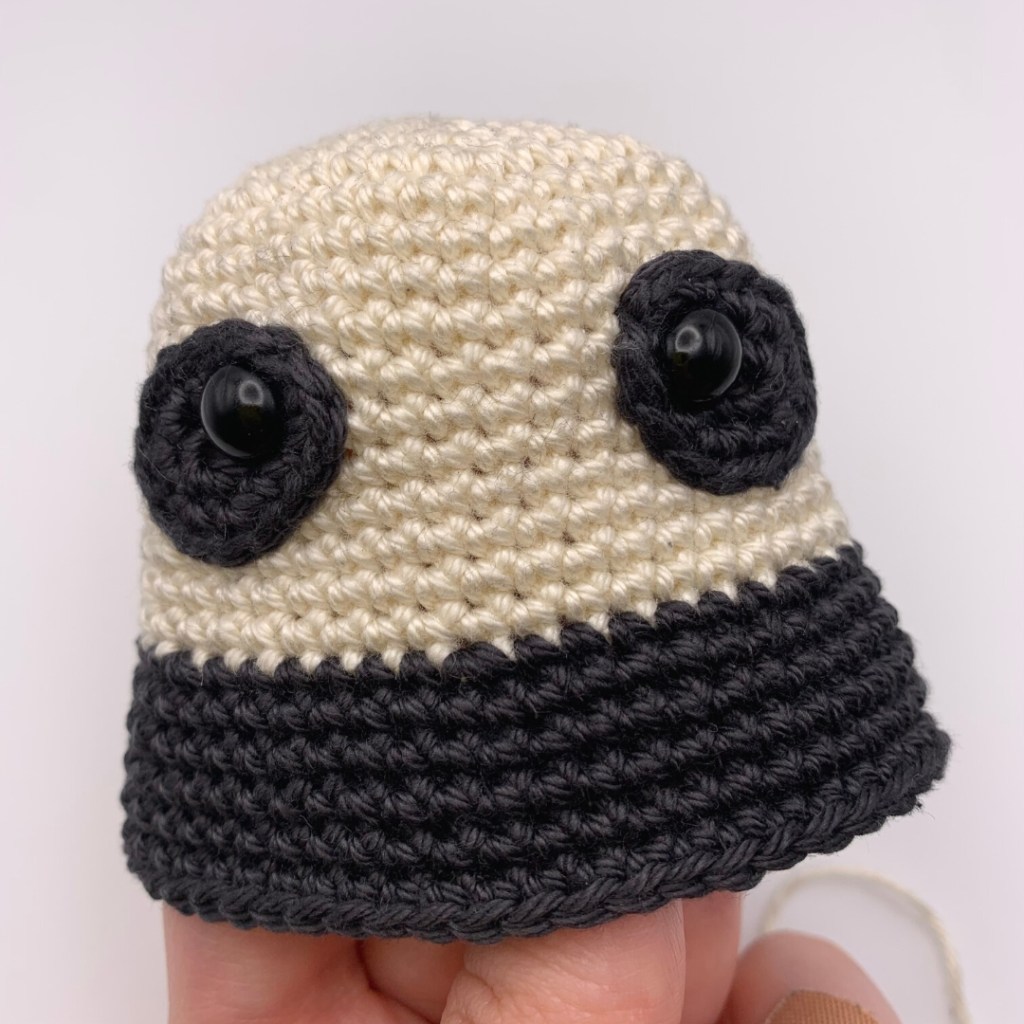
Insert safety eyes through the narrower end of the eye patches.
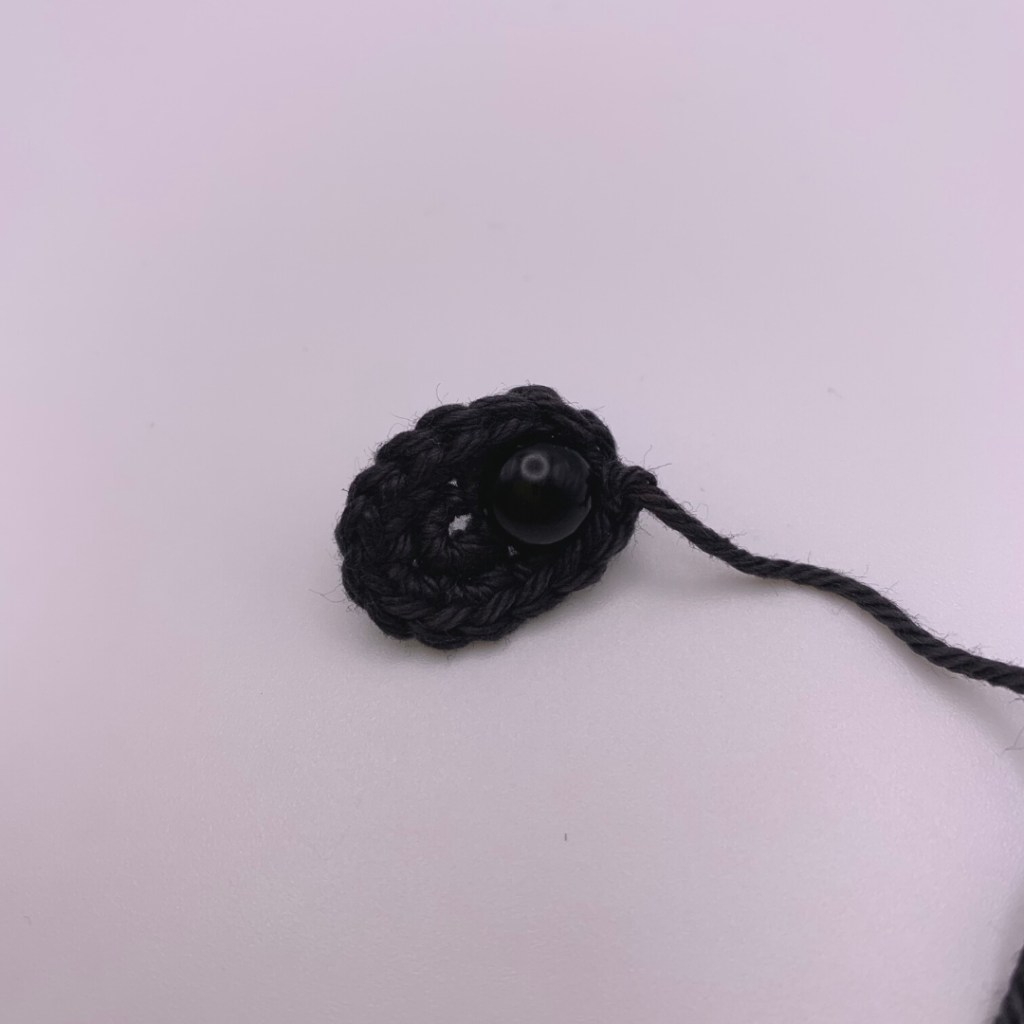
Then insert the safety eye between rnds 12 – 13 of the body).
Repeat for the second eye (leaving approximately 6 stitches between each eye patch).
Adjust the position of the eye patch until you’re happy and then secure the safety eyes.
Sew the eye patches to the head and weave in yarn ends.
Change to dark grey yarn.
19. *6sc, inc* x 6 (48)
20 – 24. Sc in every stitch for 5 rnds (48)
Change to cream yarn.
25 – 32. Sc in every stitch for 8 rnds (48)
Start stuffing the head and body firmly.
33.*6sc, dec* x 6 (42)
34. *5sc, dec* x 6 (36)
35. *4sc, dec* x 6 (30)
36. *3sc, dec* x 6 (24)
37. *2sc, dec* x 6 (18)
38. *1sc, dec* x 6 (12)
39. *dec* x 6 (6)
Finish stuffing the body.
Tie off and weave your yarn end through the front loops of the remaining stitches. Pull to close and weave in yarn ends.
Your panda should now look like this.

With cream yarn.
1. Ch4, starting in the 2nd chain from the hook, 2sc, 4sc in the last chain of the stitch, working down the other side of the chain, 2sc (8)
2. Inc, 2sc, *inc* x 2, 2sc, inc (12)
3. 1sc, inc, 3sc, inc, 1sc, inc, 3sc, inc (16)
4 – 5. Sc in every stitch for 2 rnds (16)
Tie off and leave a long tail for sewing.
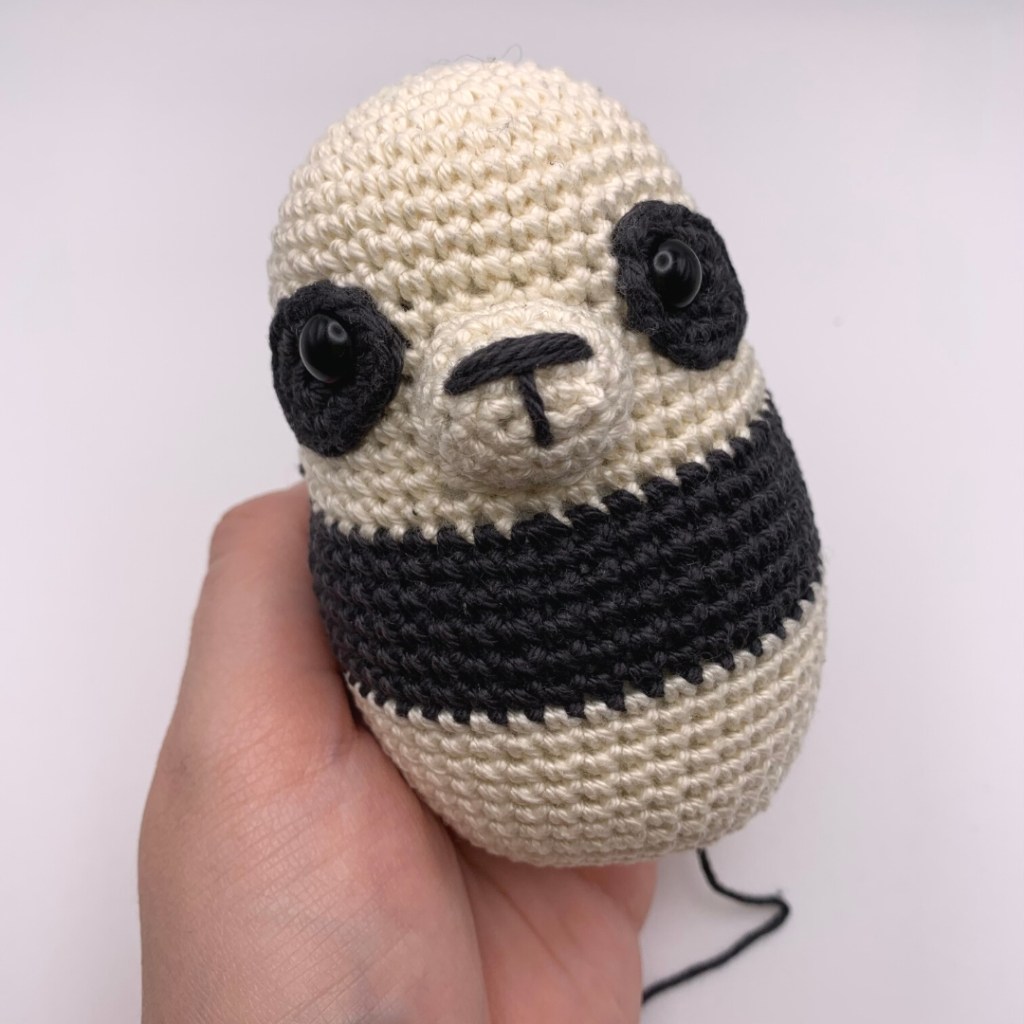
With dark grey/black yarn/embroidery floss, embroider a nose between rnds 2 – 3 (I have used 4 strands of yarn for the nose), then embroider a vertical line from rnds 1 – 3.

Stuff the muzzle with a small amount of stuffing and pin to the face between rnds 12 – 18.

Sew the muzzle to the face with a whipstitch and weave in yarn ends.
Ears
With dark grey yarn.
Make two.
Leave the ears unstuffed.
1. 6sc in magic ring (6)
2. *inc* x 6 (12)
3. Sc in every stitch (12)
4. Folding the top of the ear together, sc in each stitch across, through both layers (6)
Tie off and leave a long tail for sewing.

Pin and sew the ears between rnds 5 – 10 on both sides of the head, roughly 3 – 4 stitches from the eye patches.
Weave in yarn ends.
Your panda should now look like this.

Legs
With dark grey yarn.
Make two.
1. 6sc in magic ring (6)
2. *inc* x 6 (12)
3. *1sc, inc* x 6 (18)
4 – 6. Sc in every stitch for 3 rnds (18)
7. 6sc, *dec* x 3, 6sc (15)
8. 5sc, *dec* x 3, 4sc (12)
9 – 10. Sc in every stitch for 2 rnds (12)
Stuff the leg firmly up to rnd 8 – the rest of the leg is stuffed very lightly.
11. 5sc, *inc* x 3, 4sc (15)
12. Sc in every stitch (15)
13. 7sc, *inc* x 3, 5sc (18)
14 – 17. Sc in every stitch for 4 rnds (18)
18. *1sc, dec* x 6 (12)
Stuff the top of the leg very lightly so that it blends easily with the body once sewn.
19. Sc in every stitch (12)
20. *dec* x 6 (6)
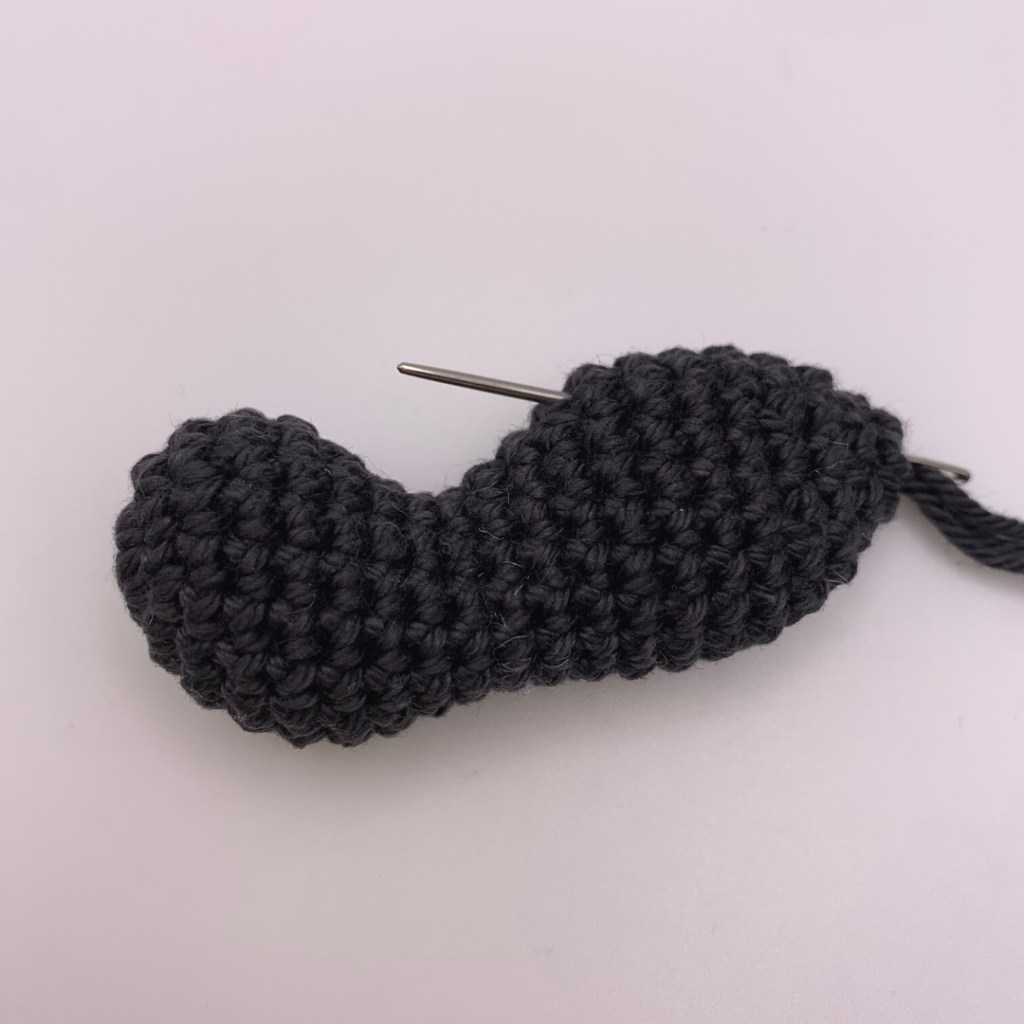
The legs should look like this.

Tie off and weave your yarn end through the front loops of the remaining stitches. Pull to close.
Insert your needle back into the leg and out the side through rnds 13 – 14, this will be used for sewing.
Pin the legs between rnds 26 – 32 on each side of the body. Make sure your Panda can sit upright before sewing, if you find that your Panda topples over, you may need to adjust the placement of the legs.
Sew around the top section of the legs as shown and weave in yarn ends.

Arms
With dark grey yarn.
Make two.
1. 6sc in magic ring (6)
2. *inc* x 6 (12)
3 – 6. Sc in every stitch for 4 rnds (12)
7. Dec, 4sc, inc, 5sc (12)
8. Dec, 4sc, inc, 5sc (12)
9. Dec, 4sc, inc, 5sc (12)
Stuff the arm lightly throughout this section.
10. Dec, 4sc, inc, 5sc (12)
11. Sc in every stitch (12)
12. Folding the top of the arm in half, sc in each stitch across, through both layers (6)
Tie off and leave a long tail for sewing.

Pin the arms to the body at a slight angle, making sure that the increases from rnds 7 – 10 are at the top of the arms.

Sew the arms between rnds 19 – 24, roughly 14 – 15 stitches apart.

Weave in yarn ends.
Your Panda should now look like this.

Tail
With cream yarn.
Leave the tail unstuffed.
1. 6sc in magic ring (6)
2. *1sc, inc* x 3 (9)
3. Sc in every stitch (9)
4. *1sc, dec* x 3 (6)
5. Folding the top of the tail together, sc in each stitch across through both layers (3)
Tie off and leave a long tail for sewing.
Pin and sew the tail to the back of the body, between rnds 31- 32.
Weave in yarn ends.

Sunhat
With light brown yarn.
1. 6sc in magic ring (6)
2. *inc* x 6 (12)
3. *1sc, inc* x 6 (18)
4. *1sc, inc, 1sc* x 6 (24)
5. *3sc, inc* x 6 (30)
6. *2sc, inc, 2sc* x 6 (36)
7. *5sc, inc* x 6 (42)
8 – 9. Sc in every stitch for 2 rnds (42)
Change to dark grey yarn.
10. Sc in every stitch (42)
Change to light brown yarn.
11. Working in FLO, *3sc, inc, 3sc* x 6 (48)
12. *7sc, inc* x 6 (54)
13. *4sc, inc, 4sc* x 6 (60)
14. *9sc, inc* x 6 (66)
15. Sc in every stitch (66)
Tie off and weave in yarn end.
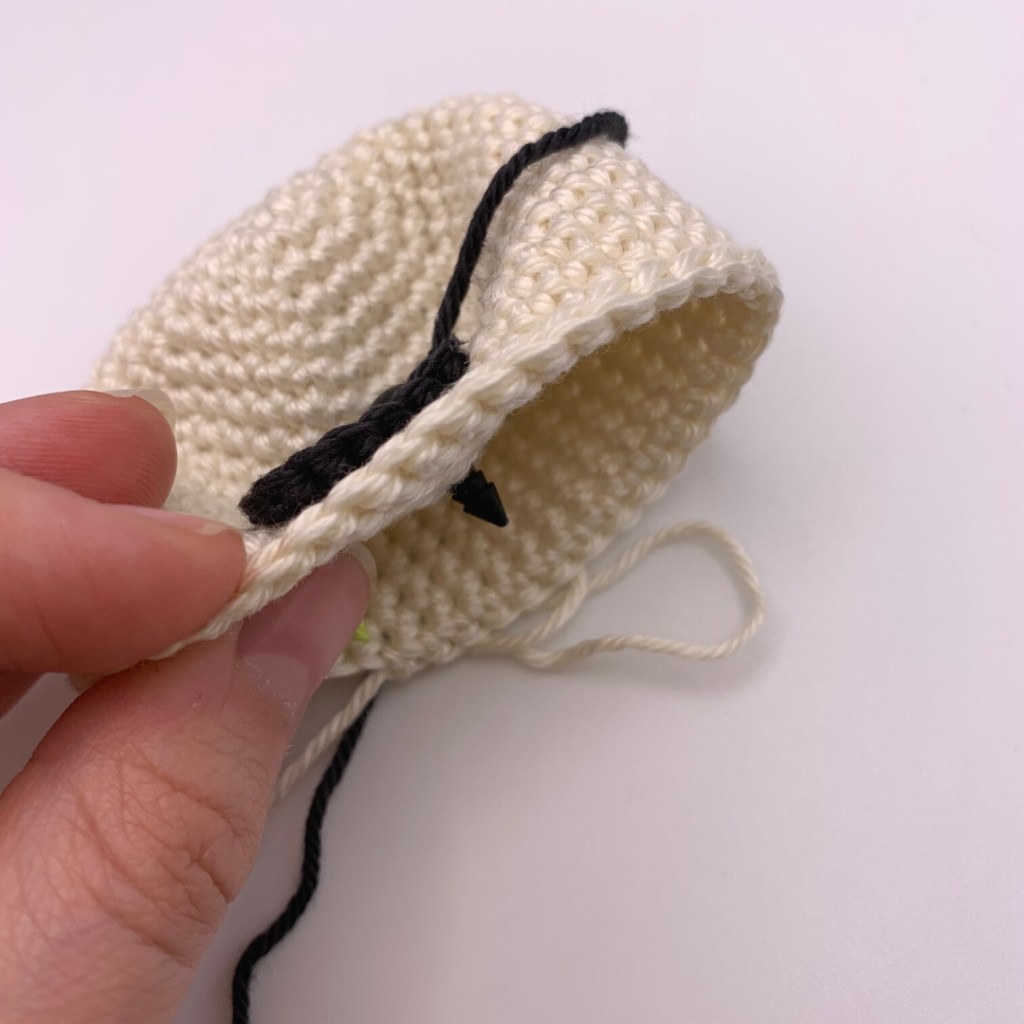
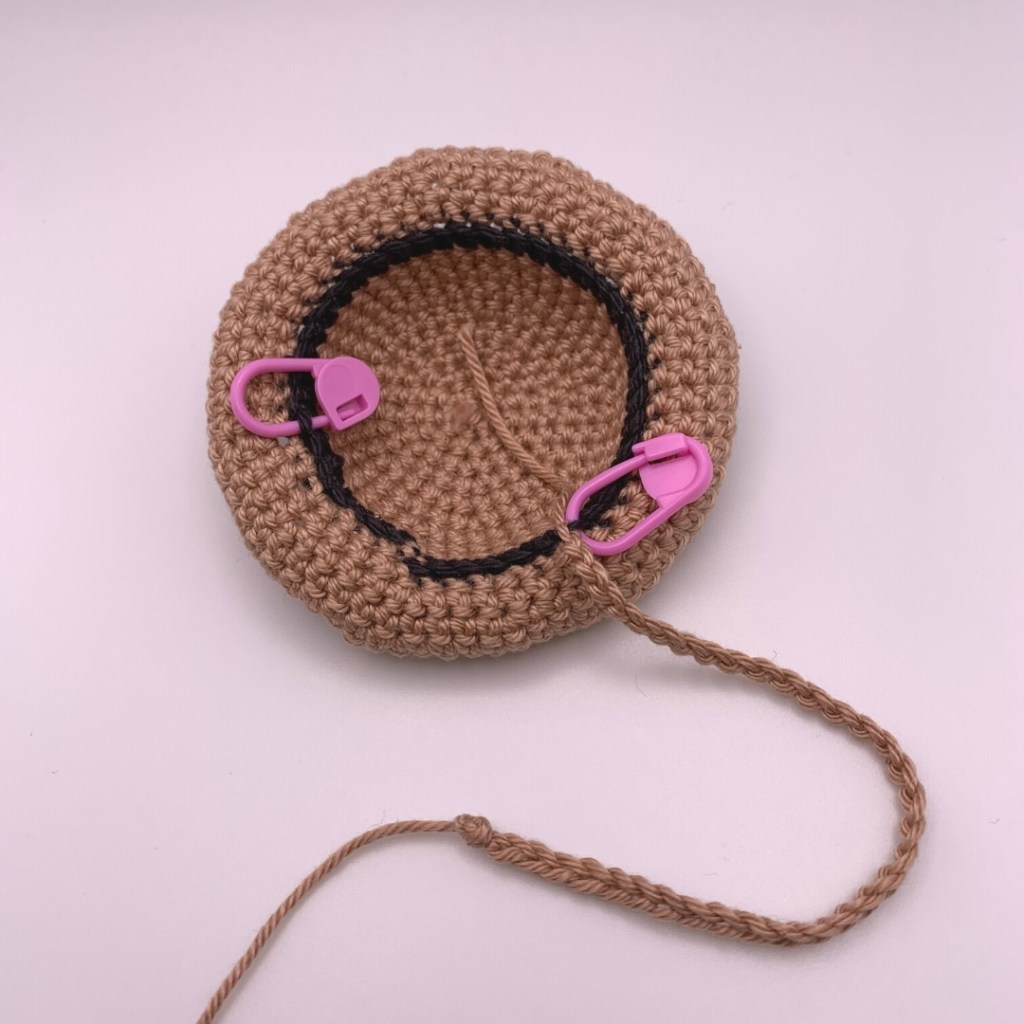
Turn the hat so that the wrong side is facing you, with the colour change from rnd 10 at the front.

Using stitch markers, place a marker at rnd 10, 7 stitches either side of the colour change.

Insert your hook into either of the marked stitches and pull up a loop with light brown yarn.

1. Ch36
Note – check this length around the neck of your Panda, as this will be used as the tie for the hat – if it’s too long or short, adjust the length of your chain.
Tie off and tie a knot at the end of your chain to secure.
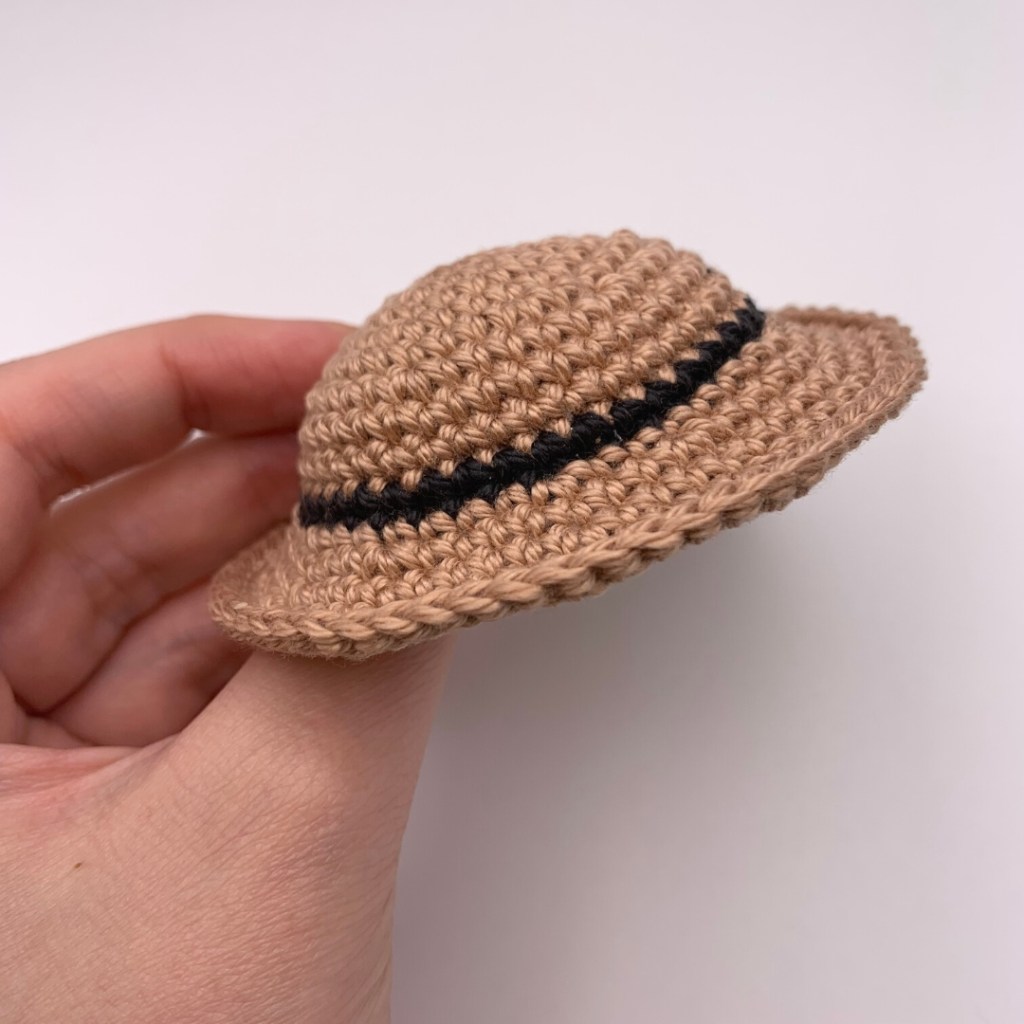
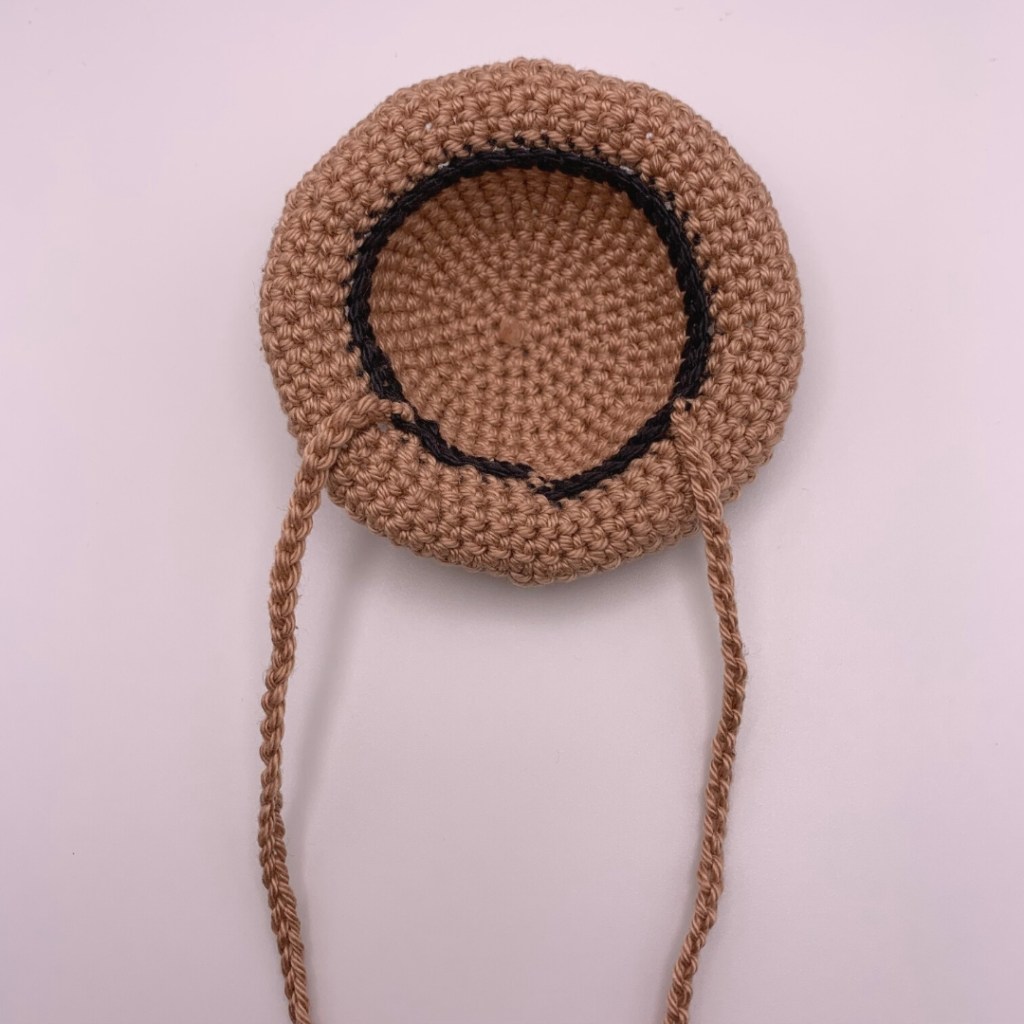
Your hat should now look like this.
Repeat on the other side of the hat in your marked stitch. Weave in your starting yarn tails.

Your hat should look like this.
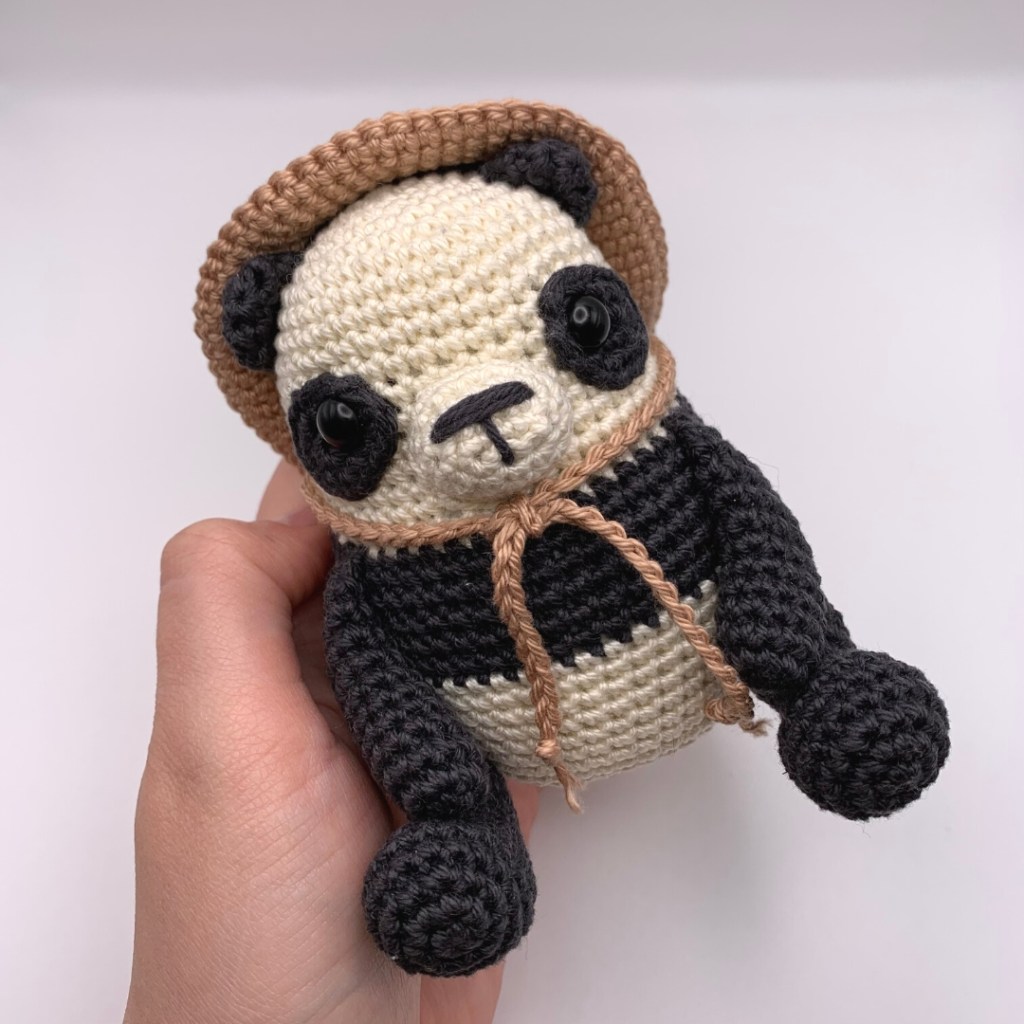
Tie the hat around the neck of your Panda.
Note – the hat should rest against the back of the head and body and not cover the ears.
Plant Pot
With rust yarn.
1. 6sc in magic ring (6)
2. *inc* x 6 (12)
3. *1sc, inc* x 6 (18)
4. *2sc, inc* x 6 (24)
5. Working in BLO, sc in every stitch (24)
6 – 7. Sc in every stitch for 2 rnds (24)
8. *3sc, inc* x 6 (30)
9 – 11. Sc in every stitch for 3 rnds (30)
12. Working in FLO, hdc in every stitch (30)
13. Sc in every stitch (30)
Tie off and weave in yarn end.
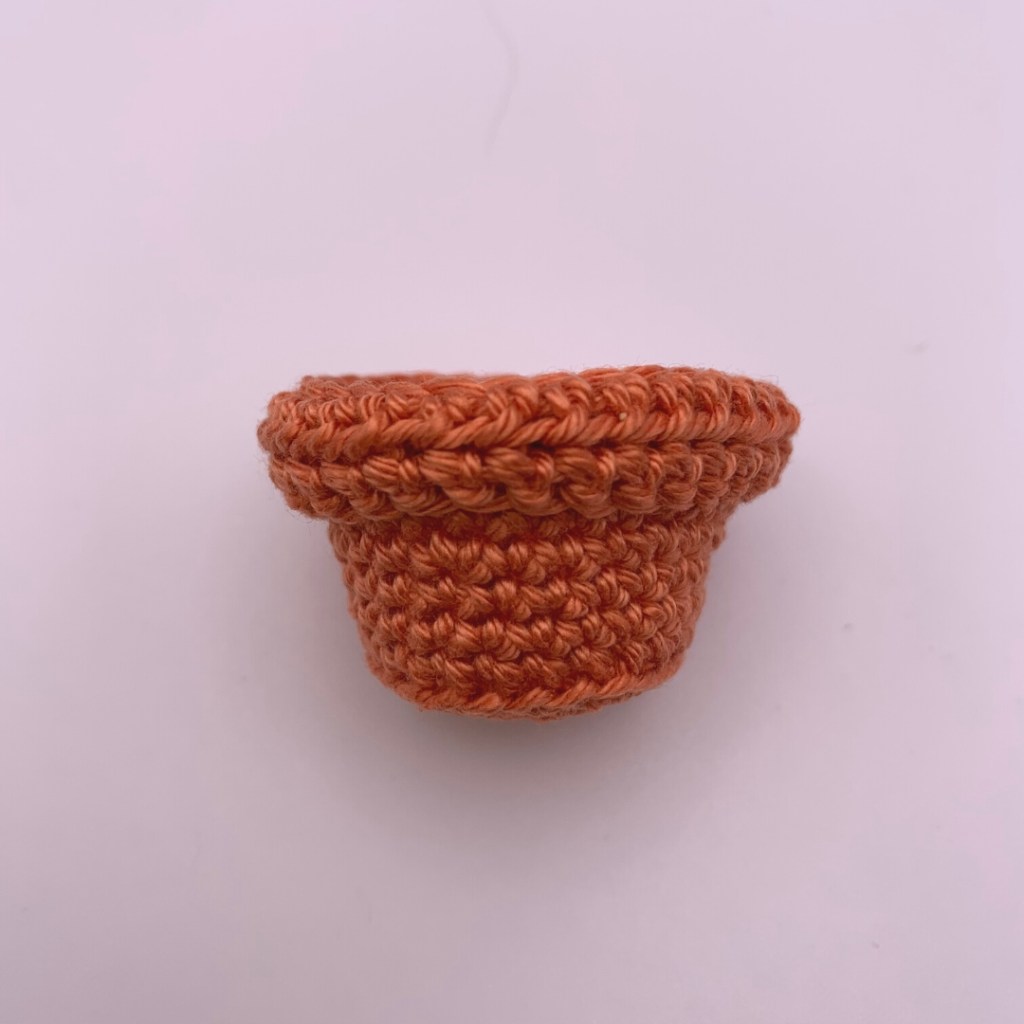
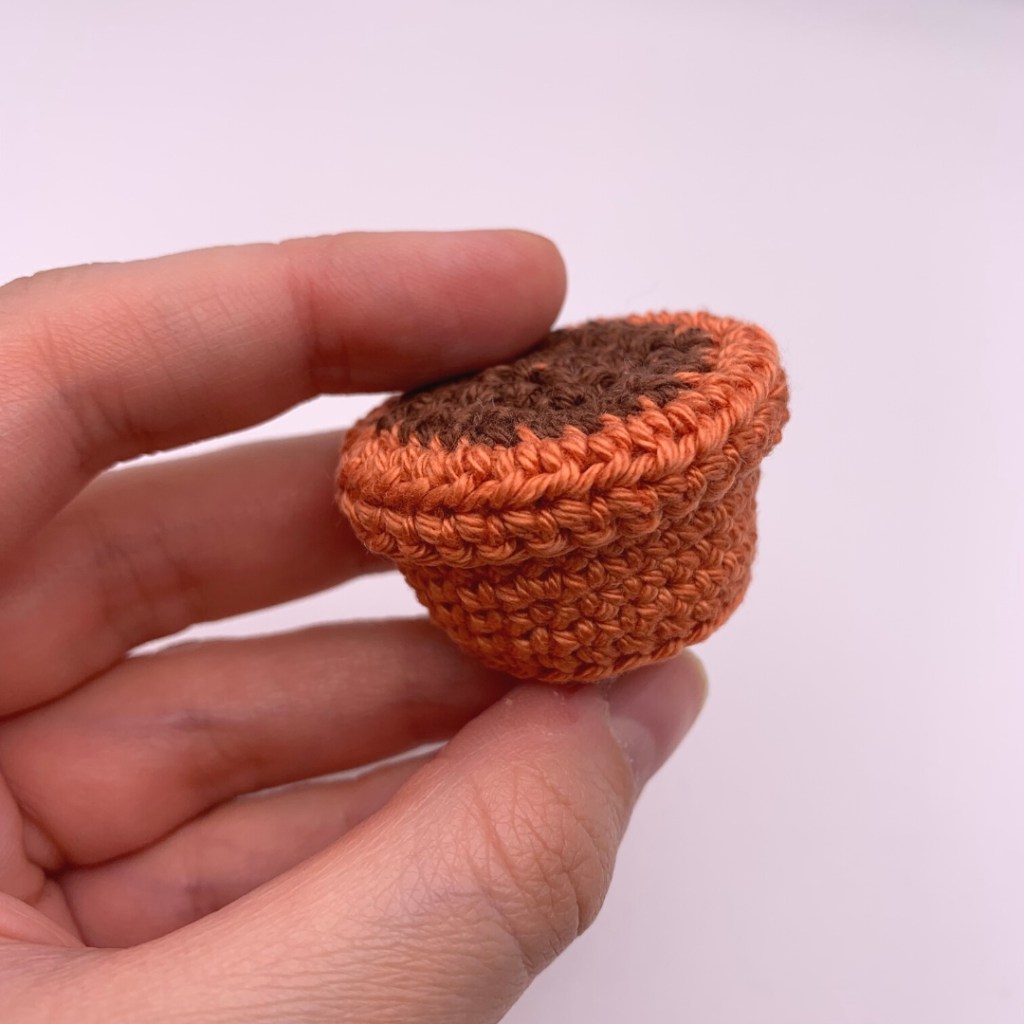
Your plant pot should look like this.

Fold the top of the plant pot down as shown.
Insert your hook into one of the back loops left over from rnd 11 and pull up a loop with dark brown yarn.

1. *3sc, dec* x 6 (24)
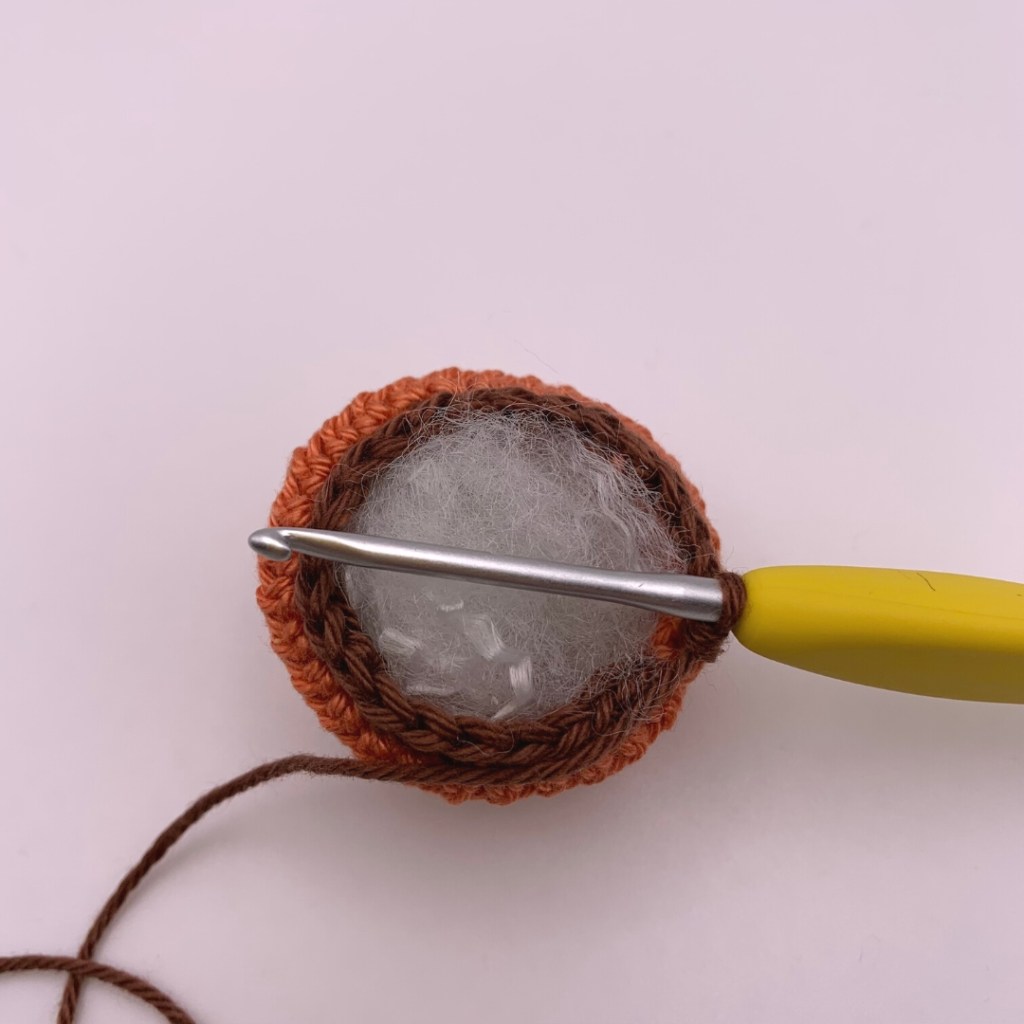
Start stuffing the plant pot – be careful not to overstuff so that your pot sits flat.
Note – you can add a small circle of cardboard to the bottom of the plant pot to help keep the bottom flat if you wish.
2. *2sc, dec* x 6 (18)
3. *1sc, dec* x 6 (12)
4. *dec* x 6 (6)
Finish stuffing the plant pot.
Tie off and weave your yarn end through the front loops of the remaining stitches. Pull to close.
Weave in yarn ends.
The plant pot should now look like this.
Bamboo Shoot
With green yarn.
1. 6sc in magic ring (6)
2 – 3. Sc in every stitch for 2 rnds (6)
4. 1sc, ch5, starting in the 2nd chain from the hook, 2hdc, 1sc, slst (this will create the leaf), working back in the rnd, 5sc (10)
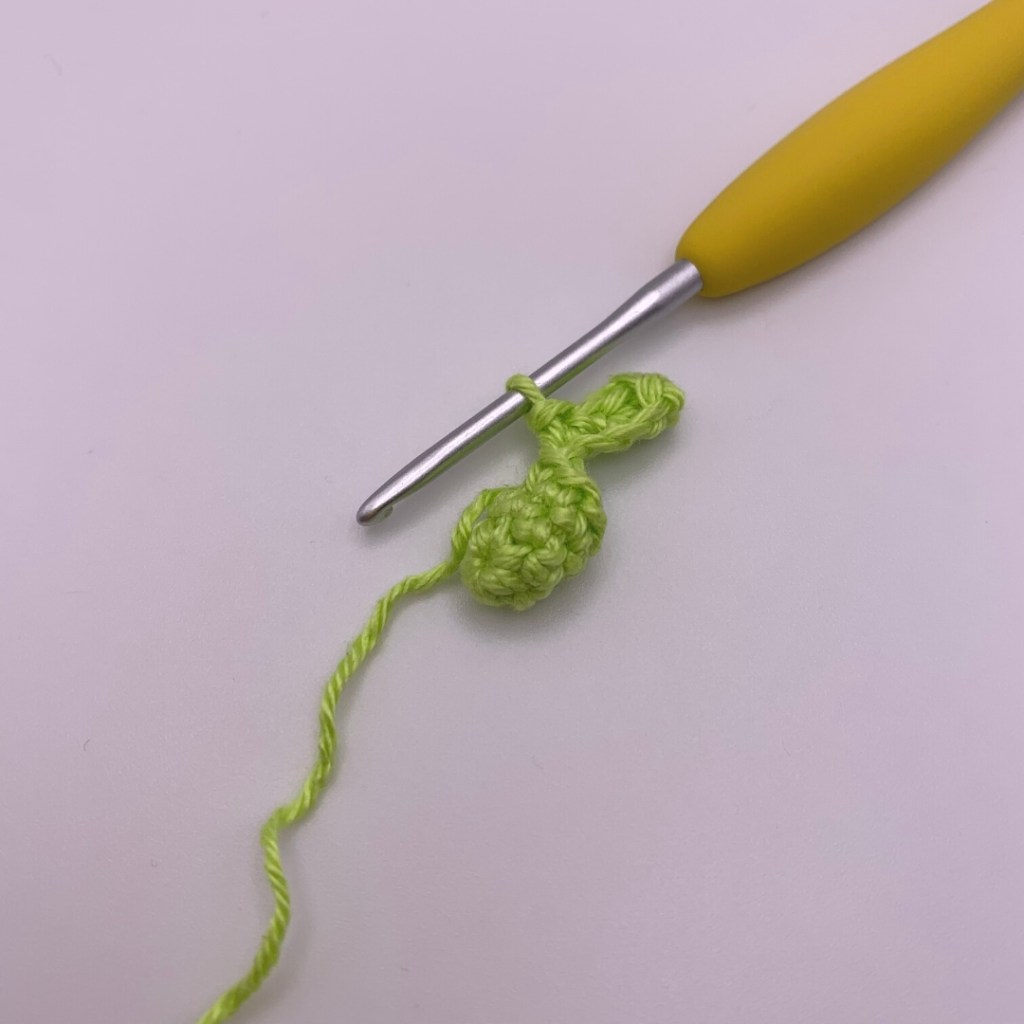
Start stuffing the bamboo shoot as you go throughout this section.
5. 1sc, fold the leaf forward and crochet in the next stitch behind the leaf, 4sc (6)

6- 9. Sc in every stitch for 4 rnds (6)
Tie off and leave a long tail for sewing.
Your bamboo shoot should look like this.

Pin and sew the bamboo shoot to the top of the plant pot.

Weave in any yarn ends.
Finishing Touches
For added cuteness, add blush to the cheeks of your Panda.
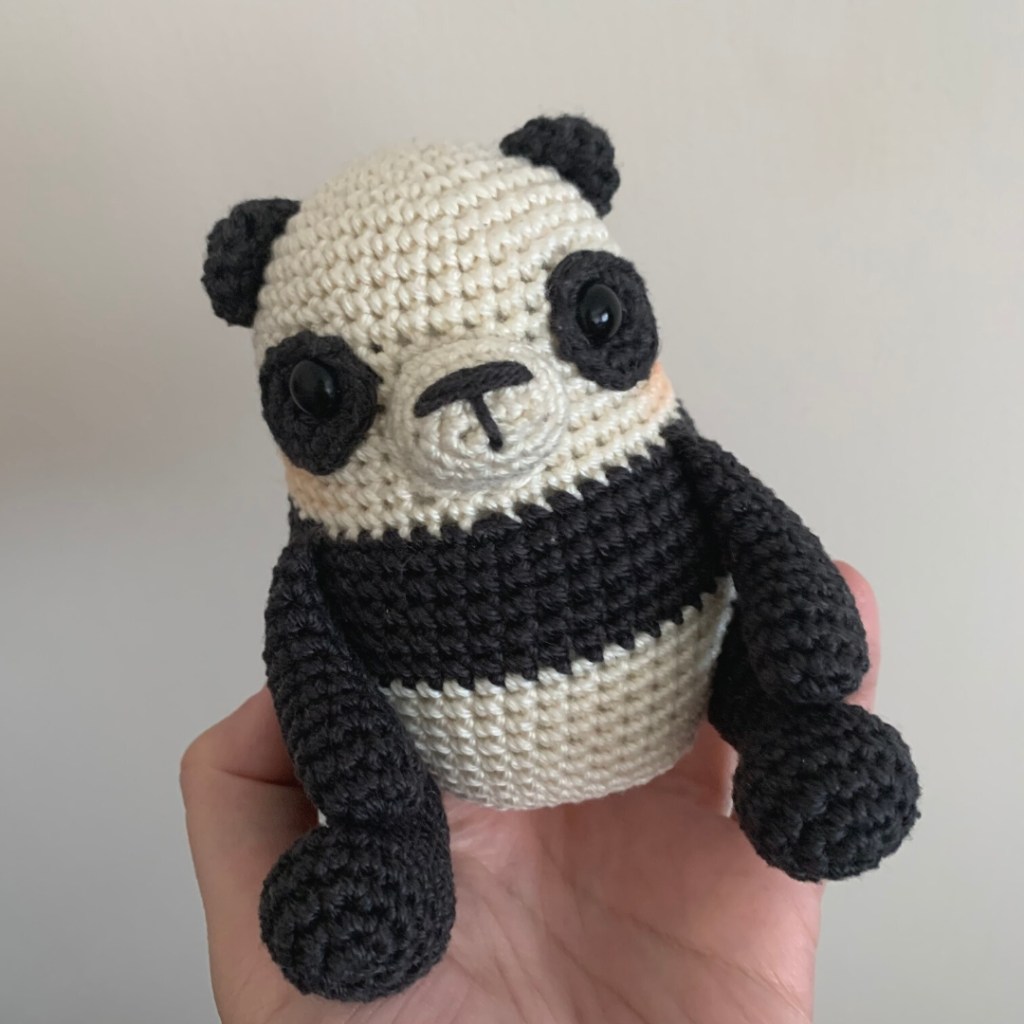
And you’re finished!
Thank you so much for making this pattern and supporting my work – I hope you have fun making your own Pip.
If you have any questions, please don’t hesitate to get in touch: graciebobbins@hotmail.com


