
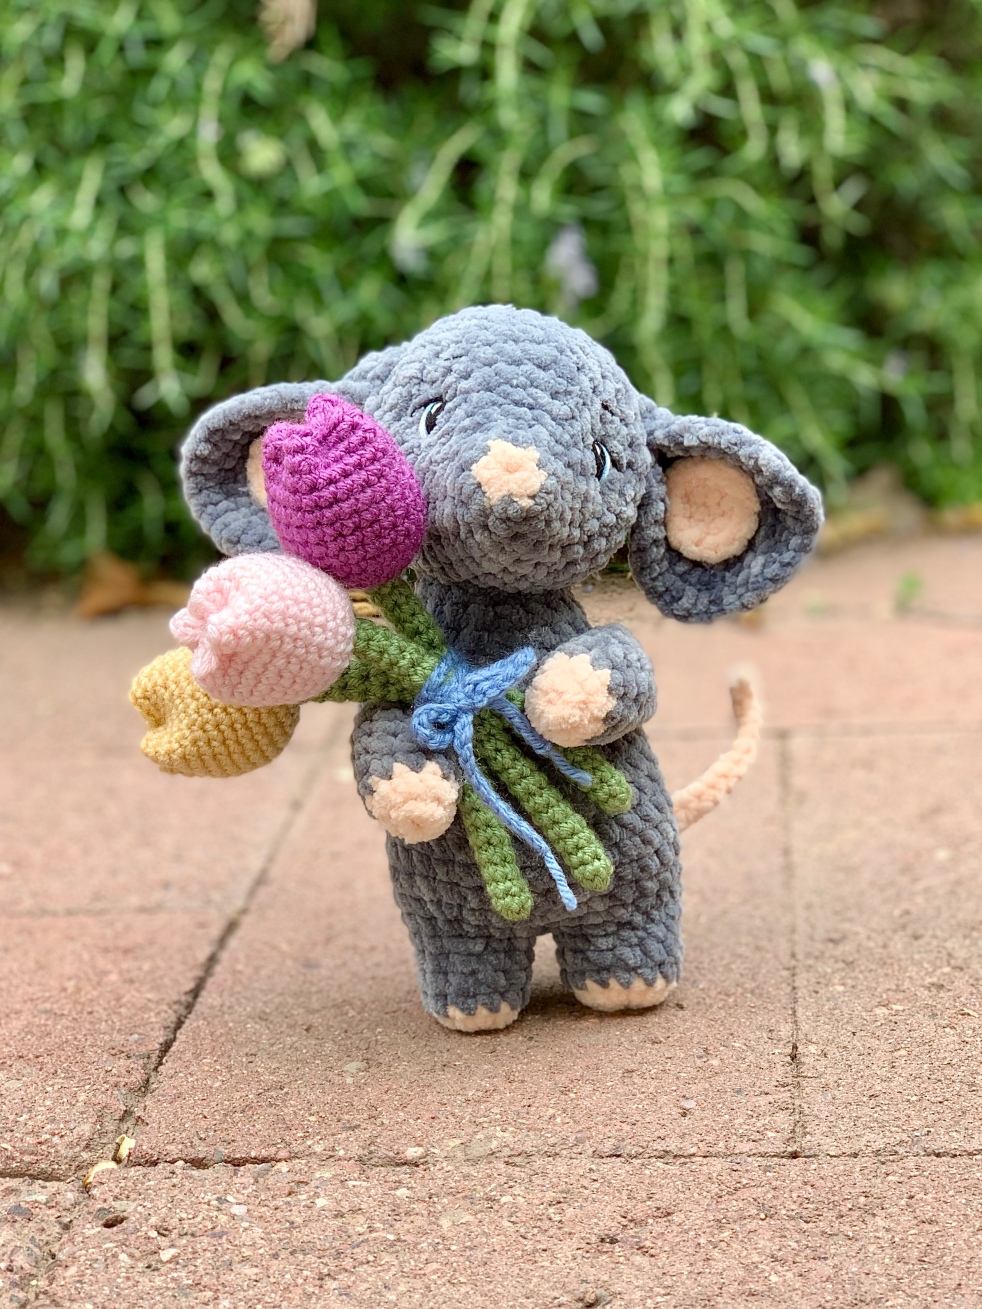
Happy spring!!
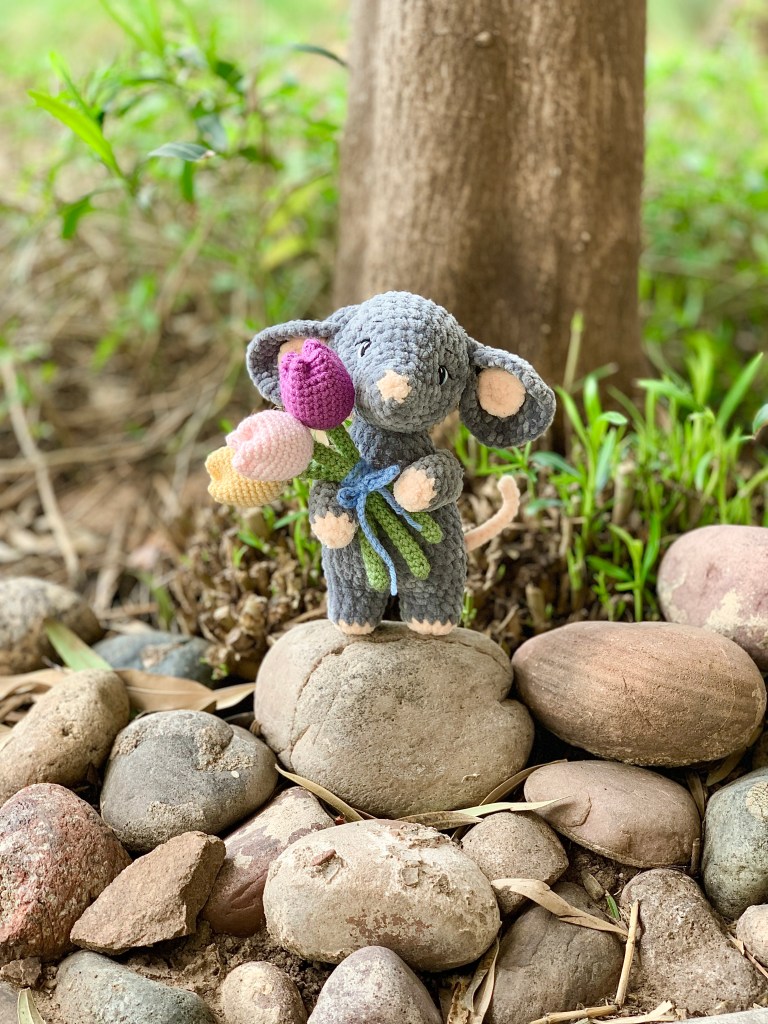
Tulip the mouse was so fun to make. The perfect gift for Mother’s Day coming in a couple of months. This little mouse was actually made as a gift for my Mama!
The mouse is made using Premier Parfait Chunky, which is super popular right now! It can be a little finicky to work with, so use your fingers to feel the stitches if you have a hard time seeing where to insert your hook.
Materials
- 4.5mm crochet hook for mouse
- 3.25mm crochet hook for tulip
- Stitch marker
- Scissors
- Tapestry needle
- Yarn
- Polyfill
- 14G craft wire
- White/Black embroidery thread
Yarn Used
Mouse – Premier Parfait Chunky in colors Seal and Shell
Tulip – Premier Basix in colors Fern, Purple, Maize, Ballet, and Storm
Notes
**Please read through entire pattern before beginning**
Pattern is in US terminology. Work in continuous rounds. Take care to always move up the stitch marker to the last stitch, at the end of each round. Stitch count is in ( ) at the end of each row. Make sure to have the correct number of stitches before moving on to the next round. If using safety eyes, squeaky toys, rattle inserts or any other small parts, please include safety warnings for children under 3.
Legal
This pattern is for personal use only. You may sell the items that you make from this pattern, but I ask that you please refer back to ©️SarahDeeCrochet as the designer. Altering, reproducing, or selling this pattern, online or in print is strictly prohibited. This pattern is protected by international copyright laws.
Abbreviations
Rnd – round
chX – chain X amount of stitches
MR – magic adjustable ring
st(s) – stitch(es)
sl st – slip stitch
sc – single crochet
inc – 2sc in the same stitch
dec – invisible decrease
BLO – back loop only
FLO – front loop only
FO – fasten off
Head
Starting with Shell
Rnd 1: 6sc in a MR (6)
Change to Seal
Rnd 2: [sc, inc] x 3 (9)
Rnd 3: sc in each st (9)
Rnd 4: 3sc, [inc] x 3, 3sc (12)
Rnd 5: 3sc, [sc, inc] x 3, 3sc (15)
Rnd 6: 3sc, [2sc, inc] x 3, 3sc (18)
Rnd 7: 3sc, [sc, inc] x 6, 3sc (24)
Rnd 8: 3sc, [2sc, inc] x 6, 3sc (30)
Rnd 9-15: sc in each st (30)
Rnd 16: [3sc, dec] x 6 (24)
Rnd 17: [2sc, dec] x 6 (18)
Stuff the head firm, continue stuffing until the last rnd.
Rnd 18: [sc, dec] x 6 (12)
Rnd 19: dec x 6 (6)
Sl st in the next st to FO. Snip yarn. Do not close the hole until after you add the eye indents.
Eye Indents
The eye indents are added over rnd 8, with approx. 12 sts apart. To add the eye indents, use a 12-inch piece of yarn. Insert the needle from the bottom of the head and back to front, into the same stitch where you want your eye placement. Then insert the needle back into the sc above that st, and pull to reduce slack.
Repeat on the second eye, and pull tight. Tie yarn together on the inside of the head. Take care not to pull them too close together, as this is just to add a bit of character to the face. Add extra stuffing, if needed.
Reference the short video below.
To close the head, weave the tail through FLO of the remaining 6 sts, pulling tight to close. Bury yarn tail in the head.
Eye Embroidery
Using embroidery thread, embroider the eyes over rnd 8, over the st with the eye indent.
Then embroider the eyebrows.

Inner Ears x 2
Using Shell
Rnd 1: 6sc in a MR (6)
Rnd 2: inc x 6 (12)
Sl st in the next st to FO and cut yarn, leaving a long tail for sewing.
Outer Ears x 2
Using Seal
Rnd 1: 6sc in a MR (6)
Rnd 2: inc x 6 (12)
Rnd 3: [sc, inc] x 6 (18)
Rnd 4: [2sc, inc] x 6 (24)
Rnd 5: [3sc, inc] x 6 (30)
Rnd 6: [4sc, inc] x 6 (36)
Fold the ear in half, 3sc through both sides to secure the fold. FO and snip yarn.
Leave a tail for sewing.
Arms x 2
Starting with Shell
Rnd 1: 6sc in a MR (6)
Rnd 2: [sc, inc] x 3 (9)
Change to Seal
Rnd 3-10: sc in each st (9)
Stuff the arms lightly.
Fold in half and place 4sc across to close.
FO and cut yarn, leaving a long tail for sewing.
Legs x 2
Starting with Shell
Rnd 1: 6sc in a MR (6)
Rnd 2: inc x 6 (12)
Change to Seal
Rnd 3-5: sc in each st (12)
Rnd 6: [3sc, inc] x 3 (15)
Sl st into the next st to FO the 1st leg and cut yarn. DO NOT FO the 2nd leg. Continue with the body.
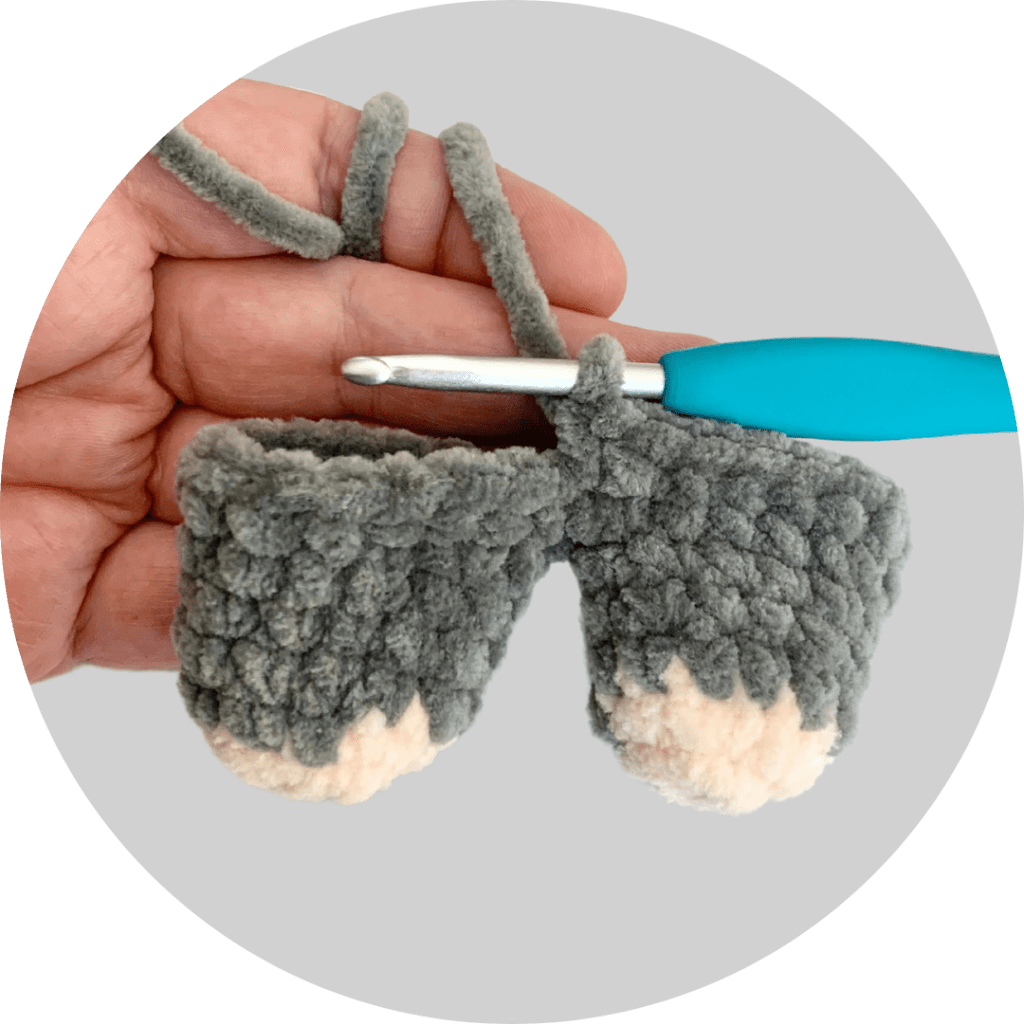
Body
Continuing from the 2nd leg, when adding the first sc to the first leg, make sure the color change on the back of the leg is facing you. This is the back of the body.
Rnd 7: 15sc around the 1st leg, 15sc around the 2nd leg (30)
Rnd 8: [9sc, inc] x 3 (33)
Rnd 9-11: sc in each st (33)
Rnd 12: [9sc, dec] x 3 (30)
Rnd 13: sc in each st (30)
Rnd 14: [8sc, dec] x 3 (27)
Rnd 15: sc in each st (27)
Rnd 16: [7sc, dec] x 3 (24)
Add stuffing, continue stuffing until the last rnd.
Rnd 17: sc in each st (24)
Rnd 18: [2sc, dec] x 6 (18)
Rnd 19-20: sc in each st (18)
Rnd 21: [4sc, dec] x 3 (15)
Sl st into the next st to FO. Cut yarn, leaving a long tail for sewing the head to the body.
Adding the tail
With a sl st on your hook, attach yarn in the center back of the body, over rnd 9. Ch 23, starting in the 2nd ch from hook, sl st in each st. Sl st back into the same st as the join and FO. Hide the ends inside of the body.
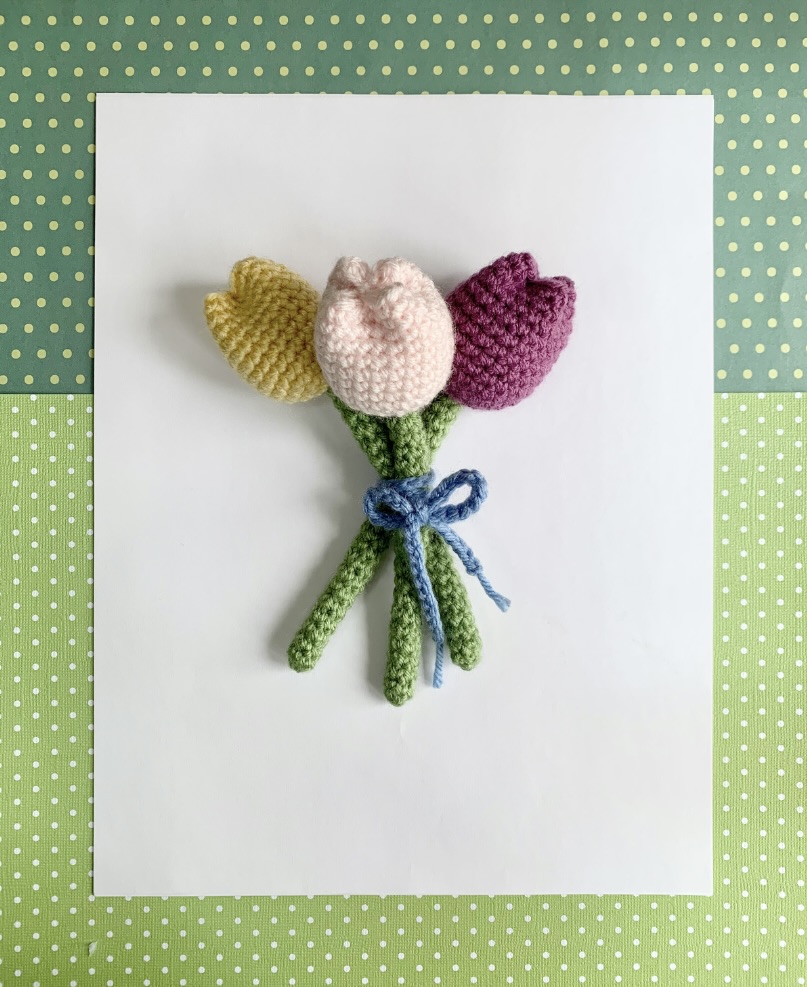
Tulip
Using Premier Basix and a 3.25mm hook.
Starting with Fern
Rnd 1: 6sc in a MR (6)
Rnd 2-22: sc in each st (6)
Change to tulip color
Rnd 23: inc x 6 through FLO (12)
Rnd 24: [sc, inc] x 6 (18)
Rnd 25: [2sc, inc] x 6 (24)
Rnd 26-34: sc in each st (24)
FO and snip yarn, leave a tail for shaping the tulip. Add craft wire to the stem before shaping.
To shape the tulip
Add stuffing.
[Skip 5 sts, in the 6th st weave the yarn tail from back to front and then front to back through the next st] x 4 The last time you weave your tail, it should be through the st we have the sl st in. Pull tight and secure the top with a few sts. Hide the end inside of the flower.
Reference the short video below.
Flower Tie
Ch 80, cut yarn. Wrap around the tulips and tie in a bow before sewing to the mouse.
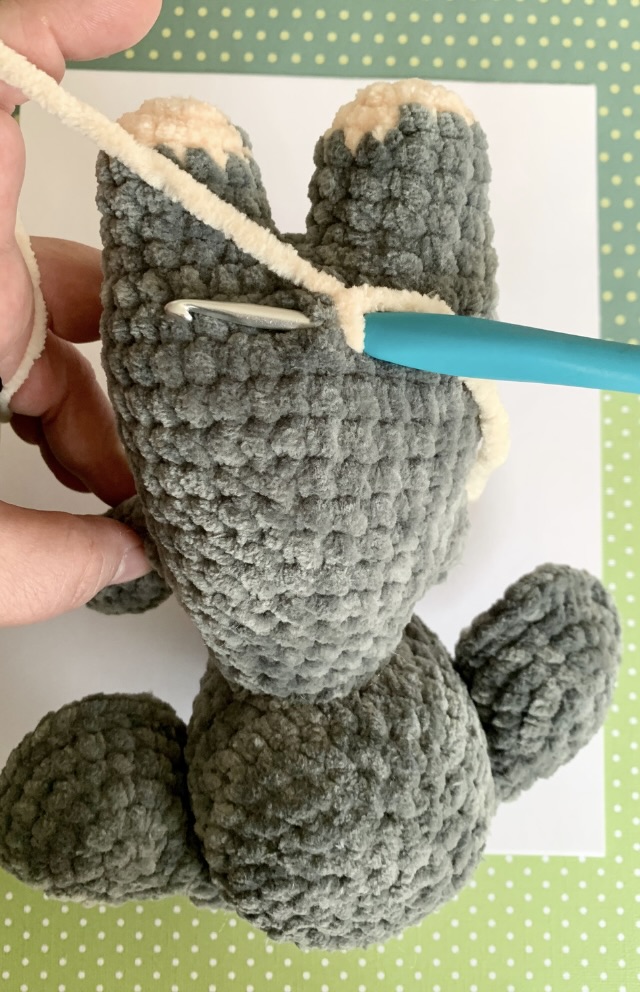
Assembly
Sew the ears to the head over rnds 13-14, on either side of the head, angle the ears toward the face.
Sew the arms over rnds 15-19, on either side of the body.
Sew the head to the body.
Sew the tulips to the arms.
Congratulations! You have finished your Mouse! Please don’t forget to share on your Instagram account using #sarahdeecrochet
Discover more from SarahDee Crochet
Subscribe to get the latest posts sent to your email.


Bellísimo!!! Es adorable!!! Muchísimas gracias!!! ❤️🥰😘
LikeLike
You are so welcome. ❤️
LikeLike
Son hermosos tus patrones!!! El sonajero Zorrito es adorable y los demás también!!! ❤️🥰😘
LikeLike